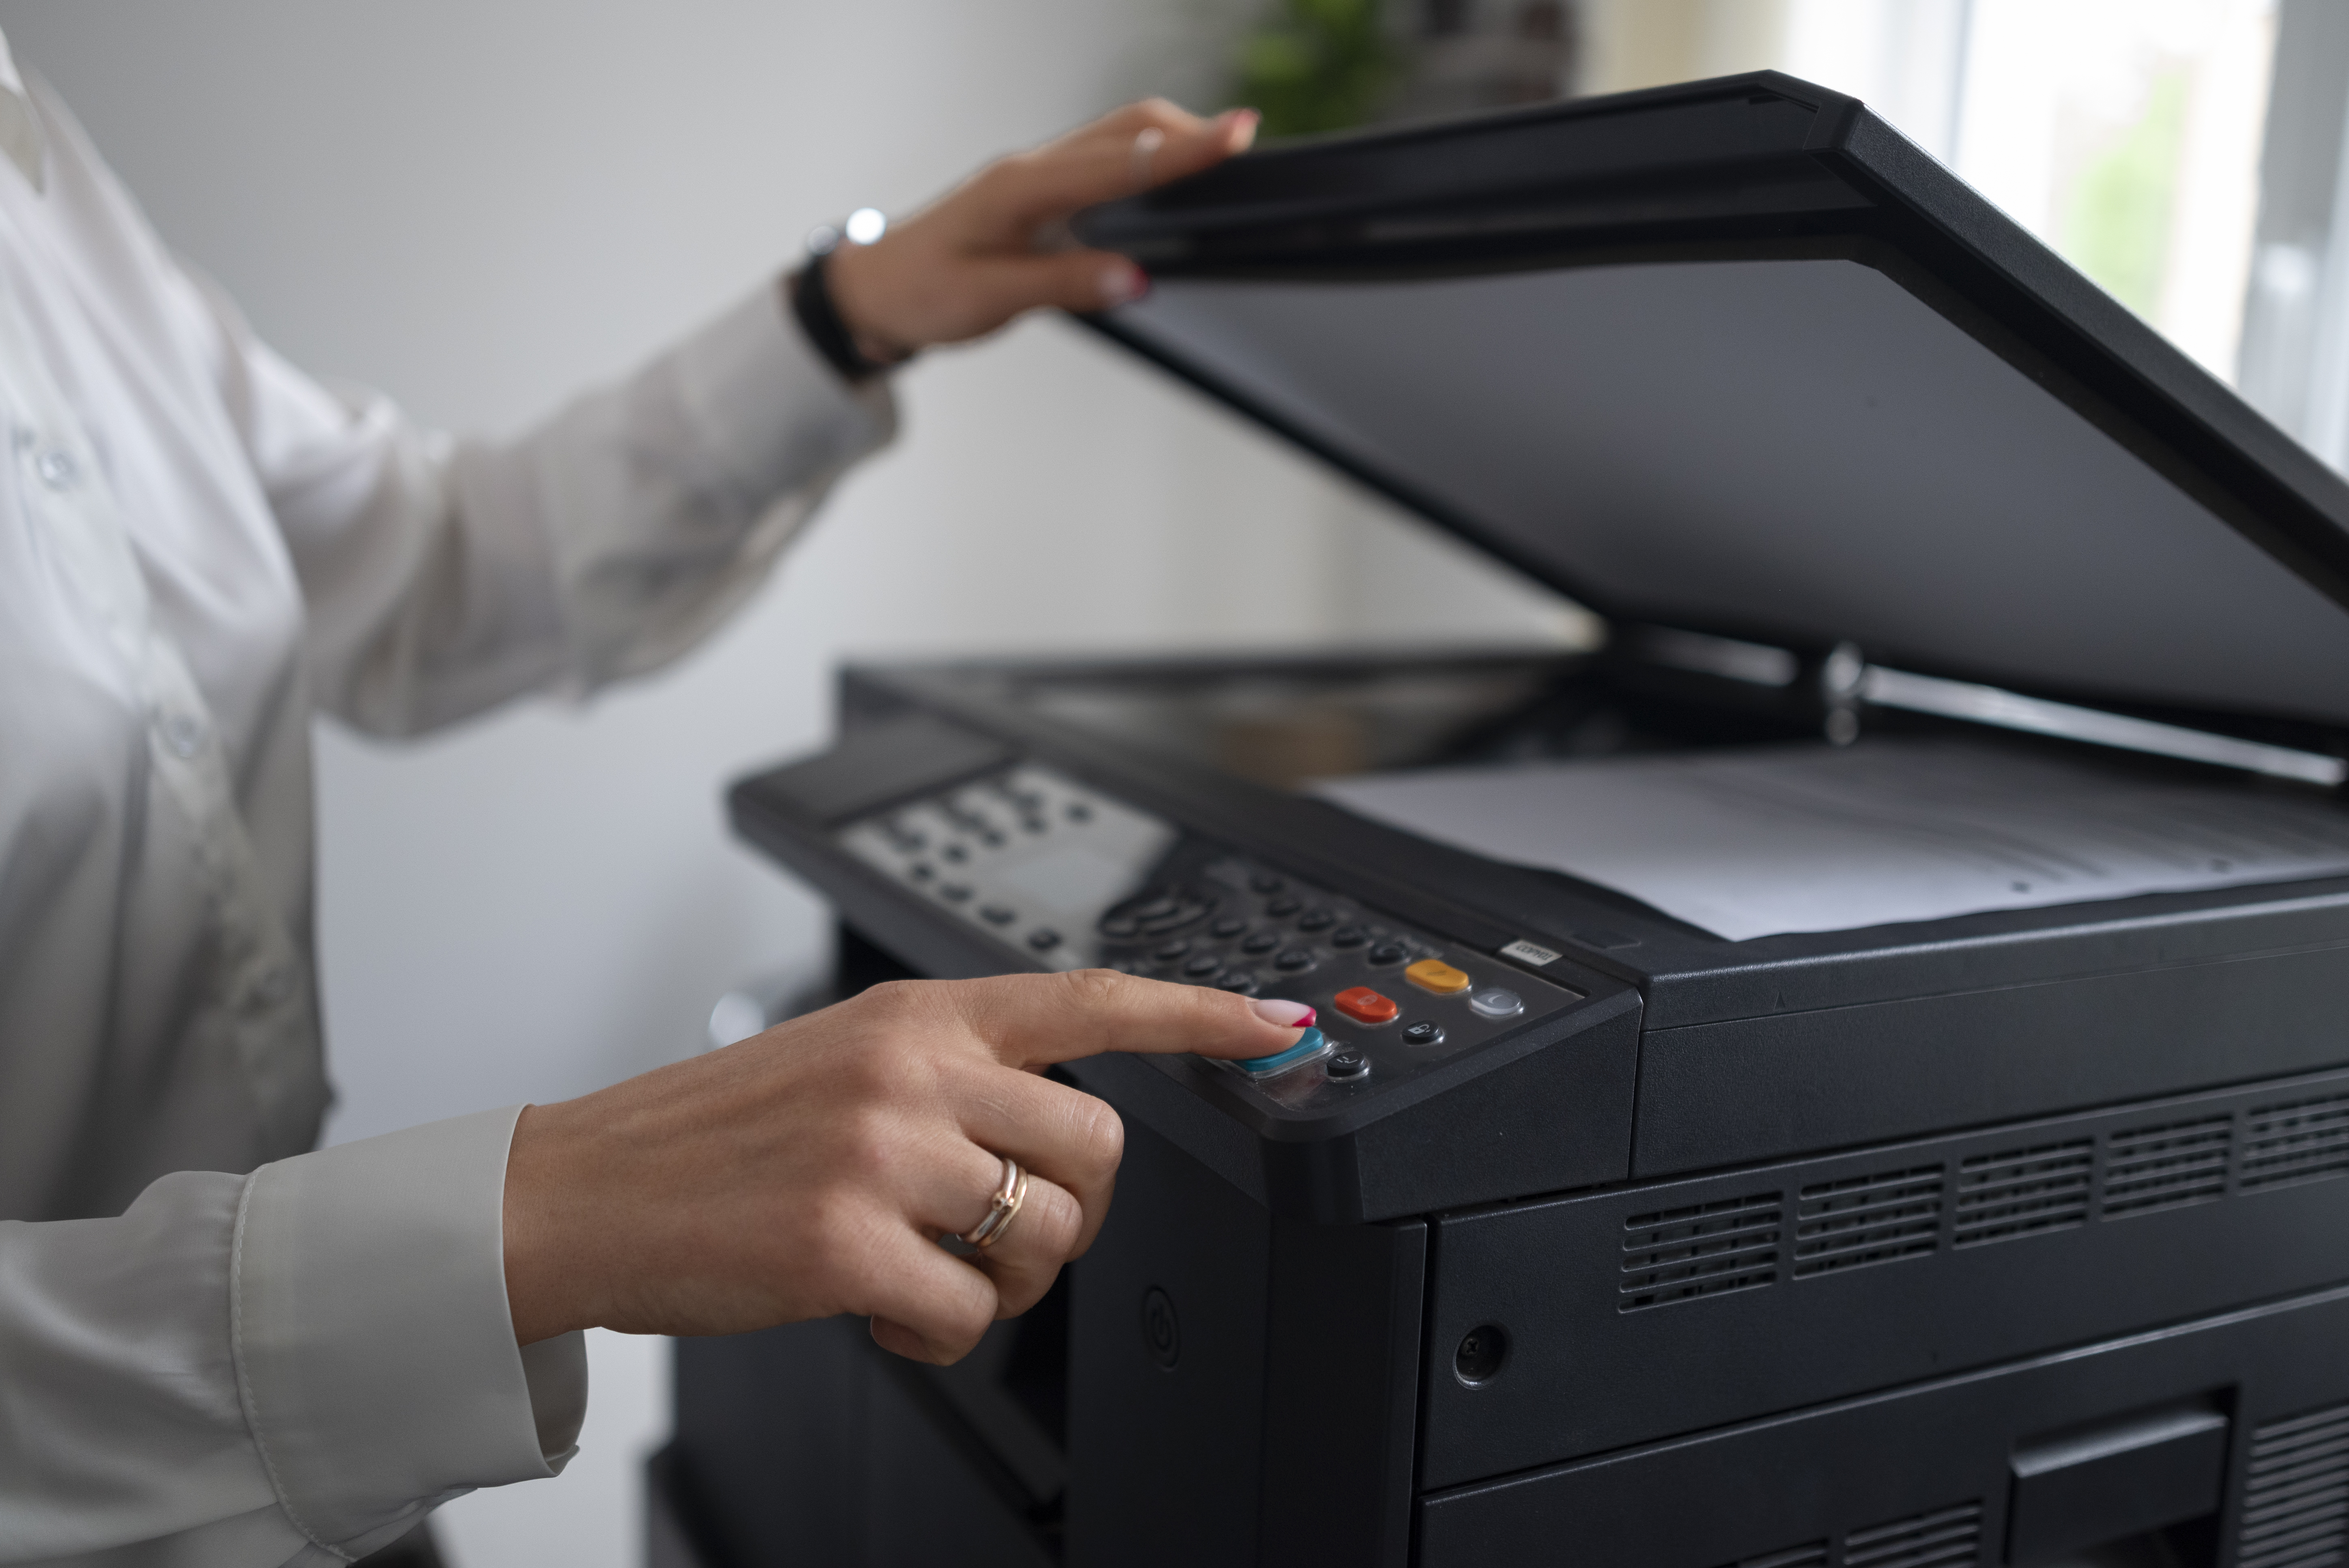
.png)
How to Perform a Correct Brother Printer Toner Reset?
A printer that suddenly stops printing and flashes a “Replace Toner” message can be frustrating—especially when you know there’s still toner left. This situation is common among Brother printers and usually just needs a proper toner reset. Performing a Brother printer toner reset can help your machine recognize the toner cartridge and continue printing smoothly.
Whether you’ve installed a new toner cartridge or simply refilled an old one, this guide will show you step-by-step how to perform a correct toner reset for Brother printers without damaging your device or wasting supplies.
Why Does Your Brother Printer Need a Toner Reset?
Brother printers use built-in sensors to track toner levels. After printing a certain number of pages, the printer assumes the toner is empty—even if you’ve refilled it or the sensor didn’t update correctly. When this happens, the printer may display messages like:
- “Toner Low”
- “Replace Toner”
- “Toner Life End”
A toner reset tells the printer to ignore these messages and recognize that the toner cartridge still has usable ink. This process helps extend the cartridge life and saves you money on premature replacements.
When Should You Perform a Toner Reset?
You don’t always need to perform a toner reset. Do it only when:
- You’ve installed a refilled or compatible cartridge, and the printer still shows “Replace Toner.”
- You see the Toner Life End message even though the prints look fine.
- The printer stops printing while the toner still clearly has ink left.
- You replaced the drum unit but not the toner, and it still won’t recognize the new setup.
If your prints are genuinely faded or streaky, consider replacing the toner instead of resetting it.
Tools You’ll Need Before You Start
Before performing the Brother printer toner reset, ensure you have:
- Access to your printer’s control panel or touchscreen.
- The printer powered on and was ready (not in sleep mode).
- The toner cartridge is properly installed.
- The printer’s model number (since steps vary slightly by model).
If you’re unsure about your printer model, check the front panel label or your printer’s documentation.
Step-by-Step Guide to Reset Brother Printer Toner
Below are detailed reset procedures for the popular Brother printer series. Follow the one that matches your printer model.
1. Brother HL Series (e.g., HL-L2350DW, HL-L2370DW, HL-L2300D)
- Open the front cover to access the toner cartridge area.
- Press and hold the “OK” button while simultaneously pressing the “Up” arrow key.
- The display will show “TNR-STD” or “TNR-HC.”
- Use the Up or Down arrow to select the correct toner type:
- STD for standard cartridge
- HC for high-yield cartridge
- Press OK to confirm.
- The printer screen should display “Accepted.”
- Close the front cover and wait for the printer to initialize.
Your Brother HL printer should now recognize the toner as full.
2. Brother MFC Series (e.g., MFC-L2710DW, MFC-L2750DW)
- Open the front cover of the printer.
- Press and hold the “#” (hash) button for about 5 seconds.
- The display will show a hidden reset menu.
- Scroll through the list until you see “TNR-STD” or “TNR-HC.”
- Press OK, then select Reset.
- Wait for the “Accepted” message to appear.
- Close the cover and test print a page.
If your model doesn’t respond to the “#” key, try holding OK + Clear/Back for a few seconds instead.
3. Brother DCP Series (e.g., DCP-L2550DW, DCP-L2540DW)
- Open the printer’s front door.
- Press the Clear/Back button.
- The display will show “Replace Drum?” — Ignore this message.
- Press the Start button, then immediately press the Up arrow key.
- Keep tapping until “TNR-HC” or “TNR-STD” appears.
- Press OK to confirm and select Reset.
- Wait for the “Accepted” message, then close the cover.
Your printer is now reset and ready to print again.
4. Brother Color Laser Printers (e.g., HL-L3270CDW, MFC-L3750CDW)
- Open the front cover where the toner cartridges are located.
- Press Cancel and then Secure simultaneously (some models use “Secure” + “OK”).
- A toner reset menu will appear.
- Use the arrow keys to scroll through colors (Cyan, Magenta, Yellow, Black) and select the toner you want to reset.
- Choose Reset, then press OK.
- Repeat for each color if necessary.
- Close the cover and wait for the printer to restart.
Pro Tips for a Successful Brother Printer Toner Reset
- Use Genuine or High-Quality Compatible Toners: Low-quality cartridges may trigger repeated “Toner Low” messages even after resetting. Always use genuine or verified compatible toners to ensure proper sensor detection.
- Clean the Sensor Area: Sometimes, the sensor window near the drum unit gets dusty or blocked. Use a soft cloth to gently wipe it before reinstalling your toner.
- Don’t Overdo Resets: Performing a reset too often can cause the printer to ignore genuine toner depletion. Reset only when necessary.
- Run a Test Page: After resetting, always print a test page to check print quality and ensure the printer works normally.
- Update Printer Firmware: Brother regularly releases firmware updates that fix detection issues. Visit the official Brother website to download the latest update for your model.
Troubleshooting Common Issues After Toner Reset
Printer Still Shows “Replace Toner” After Reset
- Double-check that you selected the correct toner type (e.g., TNR-HC vs TNR-STD).
- Reopen the front cover and repeat the reset process carefully.
- If the issue persists, power off the printer for 2 minutes, restart, and try again.
Prints Are Faded or Blurry
- Toner may genuinely be low. Shake the cartridge gently to redistribute toner powder.
- Check if the drum unit needs cleaning or replacement.
Error Codes Continue to Appear
- Ensure you’re performing a toner reset and not a drum reset. They are two separate processes.
- If unsure, consult your printer’s user manual or Brother’s support website.
Benefits of Performing a Correct Toner Reset
A proper toner reset not only saves time and money but also improves your printer’s reliability. Here’s how:
- Avoids Unnecessary Cartridge Replacements: Continue using a toner that still has usable ink.
- Maintains Workflow Efficiency: Prevents printing interruptions during important tasks.
- Reduces Electronic Waste: By extending cartridge life, you contribute to sustainability.
- Saves Money: Each reset can save up to 30–40% on printing costs.
- Ensures Consistent Performance: Keeps the printer’s page counter accurate after new or refilled toner installation.
When to Replace the Toner Instead of Resetting
If you’ve already reset your toner multiple times but still get poor print quality, it’s time for a new cartridge. Replace the toner if:
- Prints are faint even after shaking the cartridge.
- You see black spots or streaks on the paper.
- The printer refuses to print even after several resets.
Using an empty cartridge can cause damage to the drum or internal components—so when in doubt, replace it.
Conclusion
A Brother printer toner reset is a quick and effective way to fix “Toner Low” or “Replace Toner” messages without replacing your cartridge prematurely. Whether you’re using an HL, MFC, or DCP model, the reset process is straightforward once you know the correct button combinations.
Remember to handle your toner carefully, follow the correct procedure, and only perform resets when truly necessary. For continued issues or professional assistance, reach out to trusted printer setup experts like All Printer Setup — we provide remote support, printer driver installation, wireless setup, and troubleshooting for all major brands, including Brother, HP, Epson, and Canon.
Was this article helpful?
.png)
.png)
_1728455153.png)
