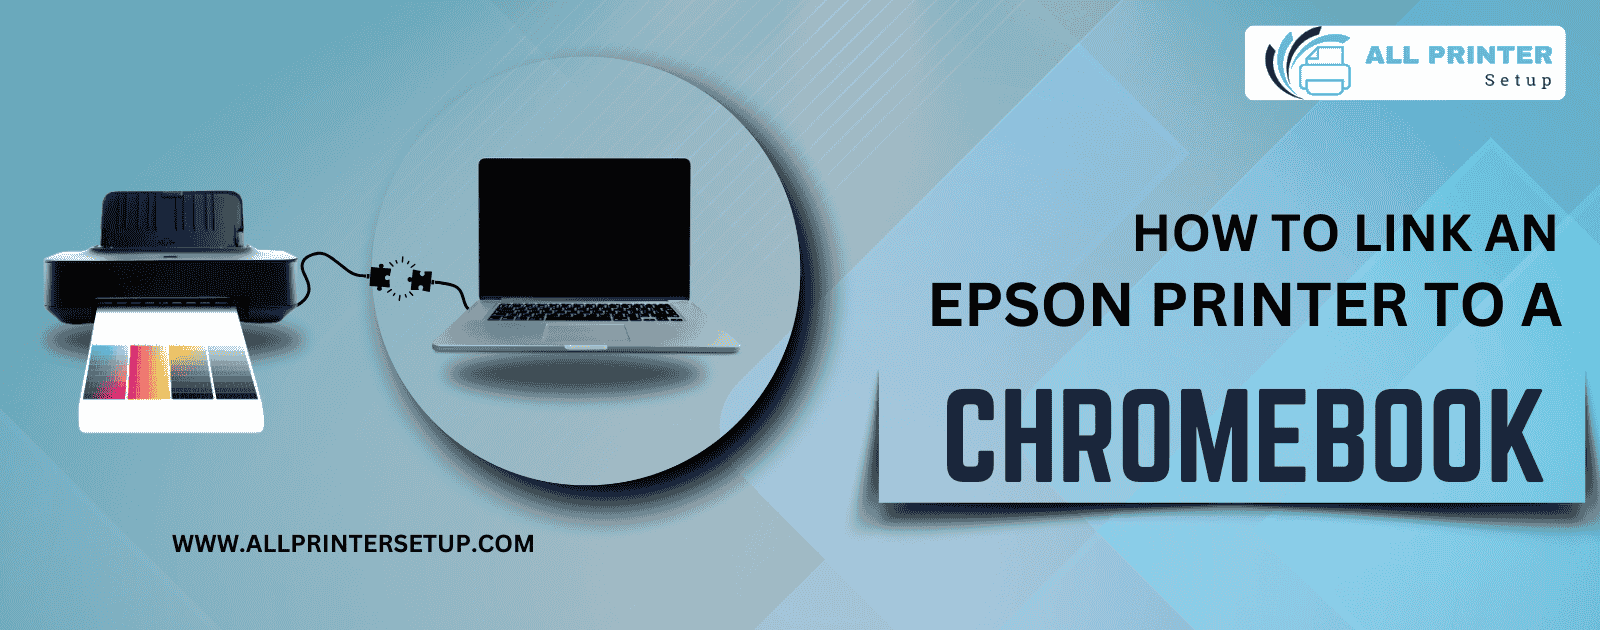
Welcome to ALL PRINTER SETUP. Today we discuss how to link an Epson printer to a Chromebook - It is a straightforward process, allowing you to easily print documents and images wirelessly. This blog will guide you with the steps needed to connect your Epson printer to your Chromebook, ensuring you can print with ease.
Let’s discuss all steps:
Step 1: Prepare Your Epson Printer
Before you start the connection process, ensure that your Epson printer is set up correctly:
Power On the Printer:
Make sure your Epson printer is plugged in and turned on.
Connect to Wi-Fi:
Ensure that your printer is connected to the same Wi-Fi network as your Chromebook. You can usually do this through the printer's control panel:
- Navigate to the Wi-Fi or Network Settings menu.
- Select your Wi-Fi network and enter the password if prompted.
Step 2: Update Chromebook
Before connecting your printer, it's a good idea to make sure your Chromebook is up to date:
- Click on the time in the bottom-right corner of the screen.
- Select Settings (the gear icon).
- In the Settings menu, click About Chrome OS on the left sidebar.
- Click Check for updates to ensure your Chromebook is running the latest version.
Step 3: Add the Epson Printer to Your Chromebook
Now that your printer is ready and your Chromebook is updated, follow these steps to add the printer:
Open Settings:
Click on the time in the bottom-right corner again and select Settings.
Printers:
In the Settings menu, scroll down and click on Advanced to expand more options. Then, find and click on Printing.
Add Printer:
Click on Printers and then select Add Printer. Your Chromebook will search for available printers.
Select Your Epson Printer:
When your Epson printer appears in the list, click on it to select it.
Add Printer:
Click Add to complete the connection. Your Chromebook may automatically install the necessary drivers.
Step 4: Test the Printer Connection
Once you’ve added the printer, it’s a good idea to test the connection:
- Open a document or an image you want to print.
- Click on the File menu in the top-left corner and select Print or use the keyboard shortcut Ctrl + P.
- In the print dialog, ensure your Epson printer is selected.
- Adjust any print settings as needed, then click Print.
Troubleshooting Tips
If you encounter issues while connecting your Epson printer to your Chromebook, try the following troubleshooting steps:
- Check Wi-Fi Connection: Ensure both your Chromebook and printer are connected to the same Wi-Fi network.
- Restart Devices: Restart your printer and Chromebook to refresh connections.
- Update Printer Firmware: Check if there’s a firmware update available for your Epson printer.
- Re-add Printer: If the printer doesn’t appear, remove it from the list of printers and add it again.
Conclusion
Connecting the Epson printer to a Chromebook is not that difficult but will help you increase your printing capabilities. Through the steps above, connecting your printer for wireless printing should be simple enough. Should any problems happen, refer to the tips in troubleshooting so they can be fixed rapidly. Have fun printing from your Chromebook with no more hassle!
If you want Epson Printer Support Help, Visit: https://allprintersetup.com/epson-printer-suppport or Book Appointment.
Was this article helpful?
.png)
.png)
_1728455153.png)
