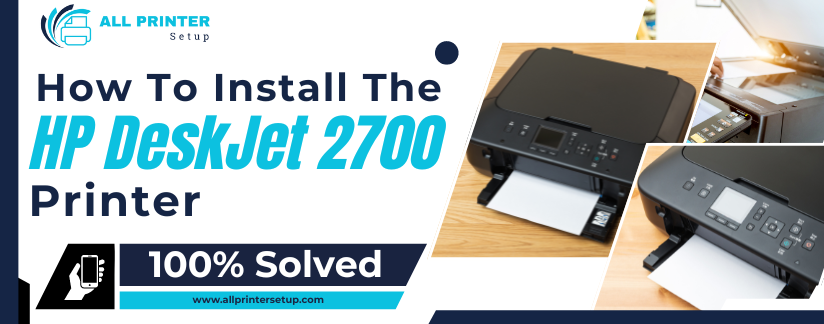
Today we discussed how to install the HP DeskJet 2700 printer. Setting up your HP Desk Jet 2700 printer is quite an easy process you go through in order to gain the ultimate best out of your printing experience. In this guide, we'll be walking you step by step on how to install your printer, and also giving you tips on accessing HP Printer Support when needed.
Step 1: Unbox Your HP Desk Jet 2700
Begin by unboxing your HP Desk Jet 2700 printer. Make sure to remove all packaging materials and tape. Once unboxed, place the printer on a flat, stable surface near your computer or network router.
Step 2: Connect Power and Turn On
- Plug in the Power Cord: Connect the power cord to the printer and insert it into an electrical outlet.
- Switch on the Printer: Simply switch on your printer's power switch, then wait for it to start initializing itself.
Step 3: Install Ink Cartridges
- Open the Ink Cartridge Access Door: Let the carriage move to the center.
- Insert Cartridges: Take the cartridges out of the package and pull the orange tape off the ends of the cartridges with a gentle pull. Insert the cartridges in their slots-black and tri-color cartridges-in their slots.
- Close the Access Door: Wait until the cartridges are all in and then close the ink cartridge access door.
Step 4: Load Paper
- Open the Input Tray: Take out the input tray and extend the paper width guides.
- Load Paper: Position an uncolored white stack of paper in the tray so that it is tightly stuck against the guides.
- Push the Tray Back In: Close the input tray snugly.
Step 5: Install HP Printer Drivers
To ensure your HP Desk Jet 2700 functions correctly, you'll need to install the HP printer drivers. Follow these steps:
- Visit the HP Support Website: Go to the HP Printer Support page.
- Search for Your Model: Type “HP Desk Jet 2700” in the search bar.
- Download Drivers: Locate the appropriate driver for your operating system and click “Download.”
- Install Printer Driver HP: Once the download is complete, open the file and follow the on-screen instructions to install the driver.
Step 6: Connect Your Printer to Wi-Fi
If you’re setting up a wireless connection:
- Press the Wi-Fi Button: On the printer's control panel, press the Wi-Fi button.
- Use the HP Smart App: Download the HP Smart app from the App Store or Google Play to connect your printer to your Wi-Fi network.
- Follow App Instructions: Open the app, select “Set Up a New Printer,” and follow the prompts to connect to your Wi-Fi network.
Step 7: Print a Test Page
After installation, it's a good idea to print a test page to ensure everything is working correctly. You can do this through the HP Smart app or your computer’s printing preferences.
Troubleshooting & HP Printers Support
If you encounter any issues during installation, HP Printers Support is available to assist you. Common troubleshooting steps include:
- Checking cable connections
- Restarting the printer and computer
- Ensuring you have the latest driver updates
For further assistance, you can contact HP support or visit the HP support community for solutions.
Conclusion
Installation of your HP Desk Jet 2700 printer doesn't need to be that complicated. Just follow these steps, and voila. You are ready to use all the features of your new printer. For further assistance whenever you need it, HP Printer Support is here.
For any assistance, Contact us with a simple Chat Box. Contact Us Now!
or
Book Your Appointment Now at https://allprintersetup.com/contact
Was this article helpful?
.png)
.png)
_1728455153.png)