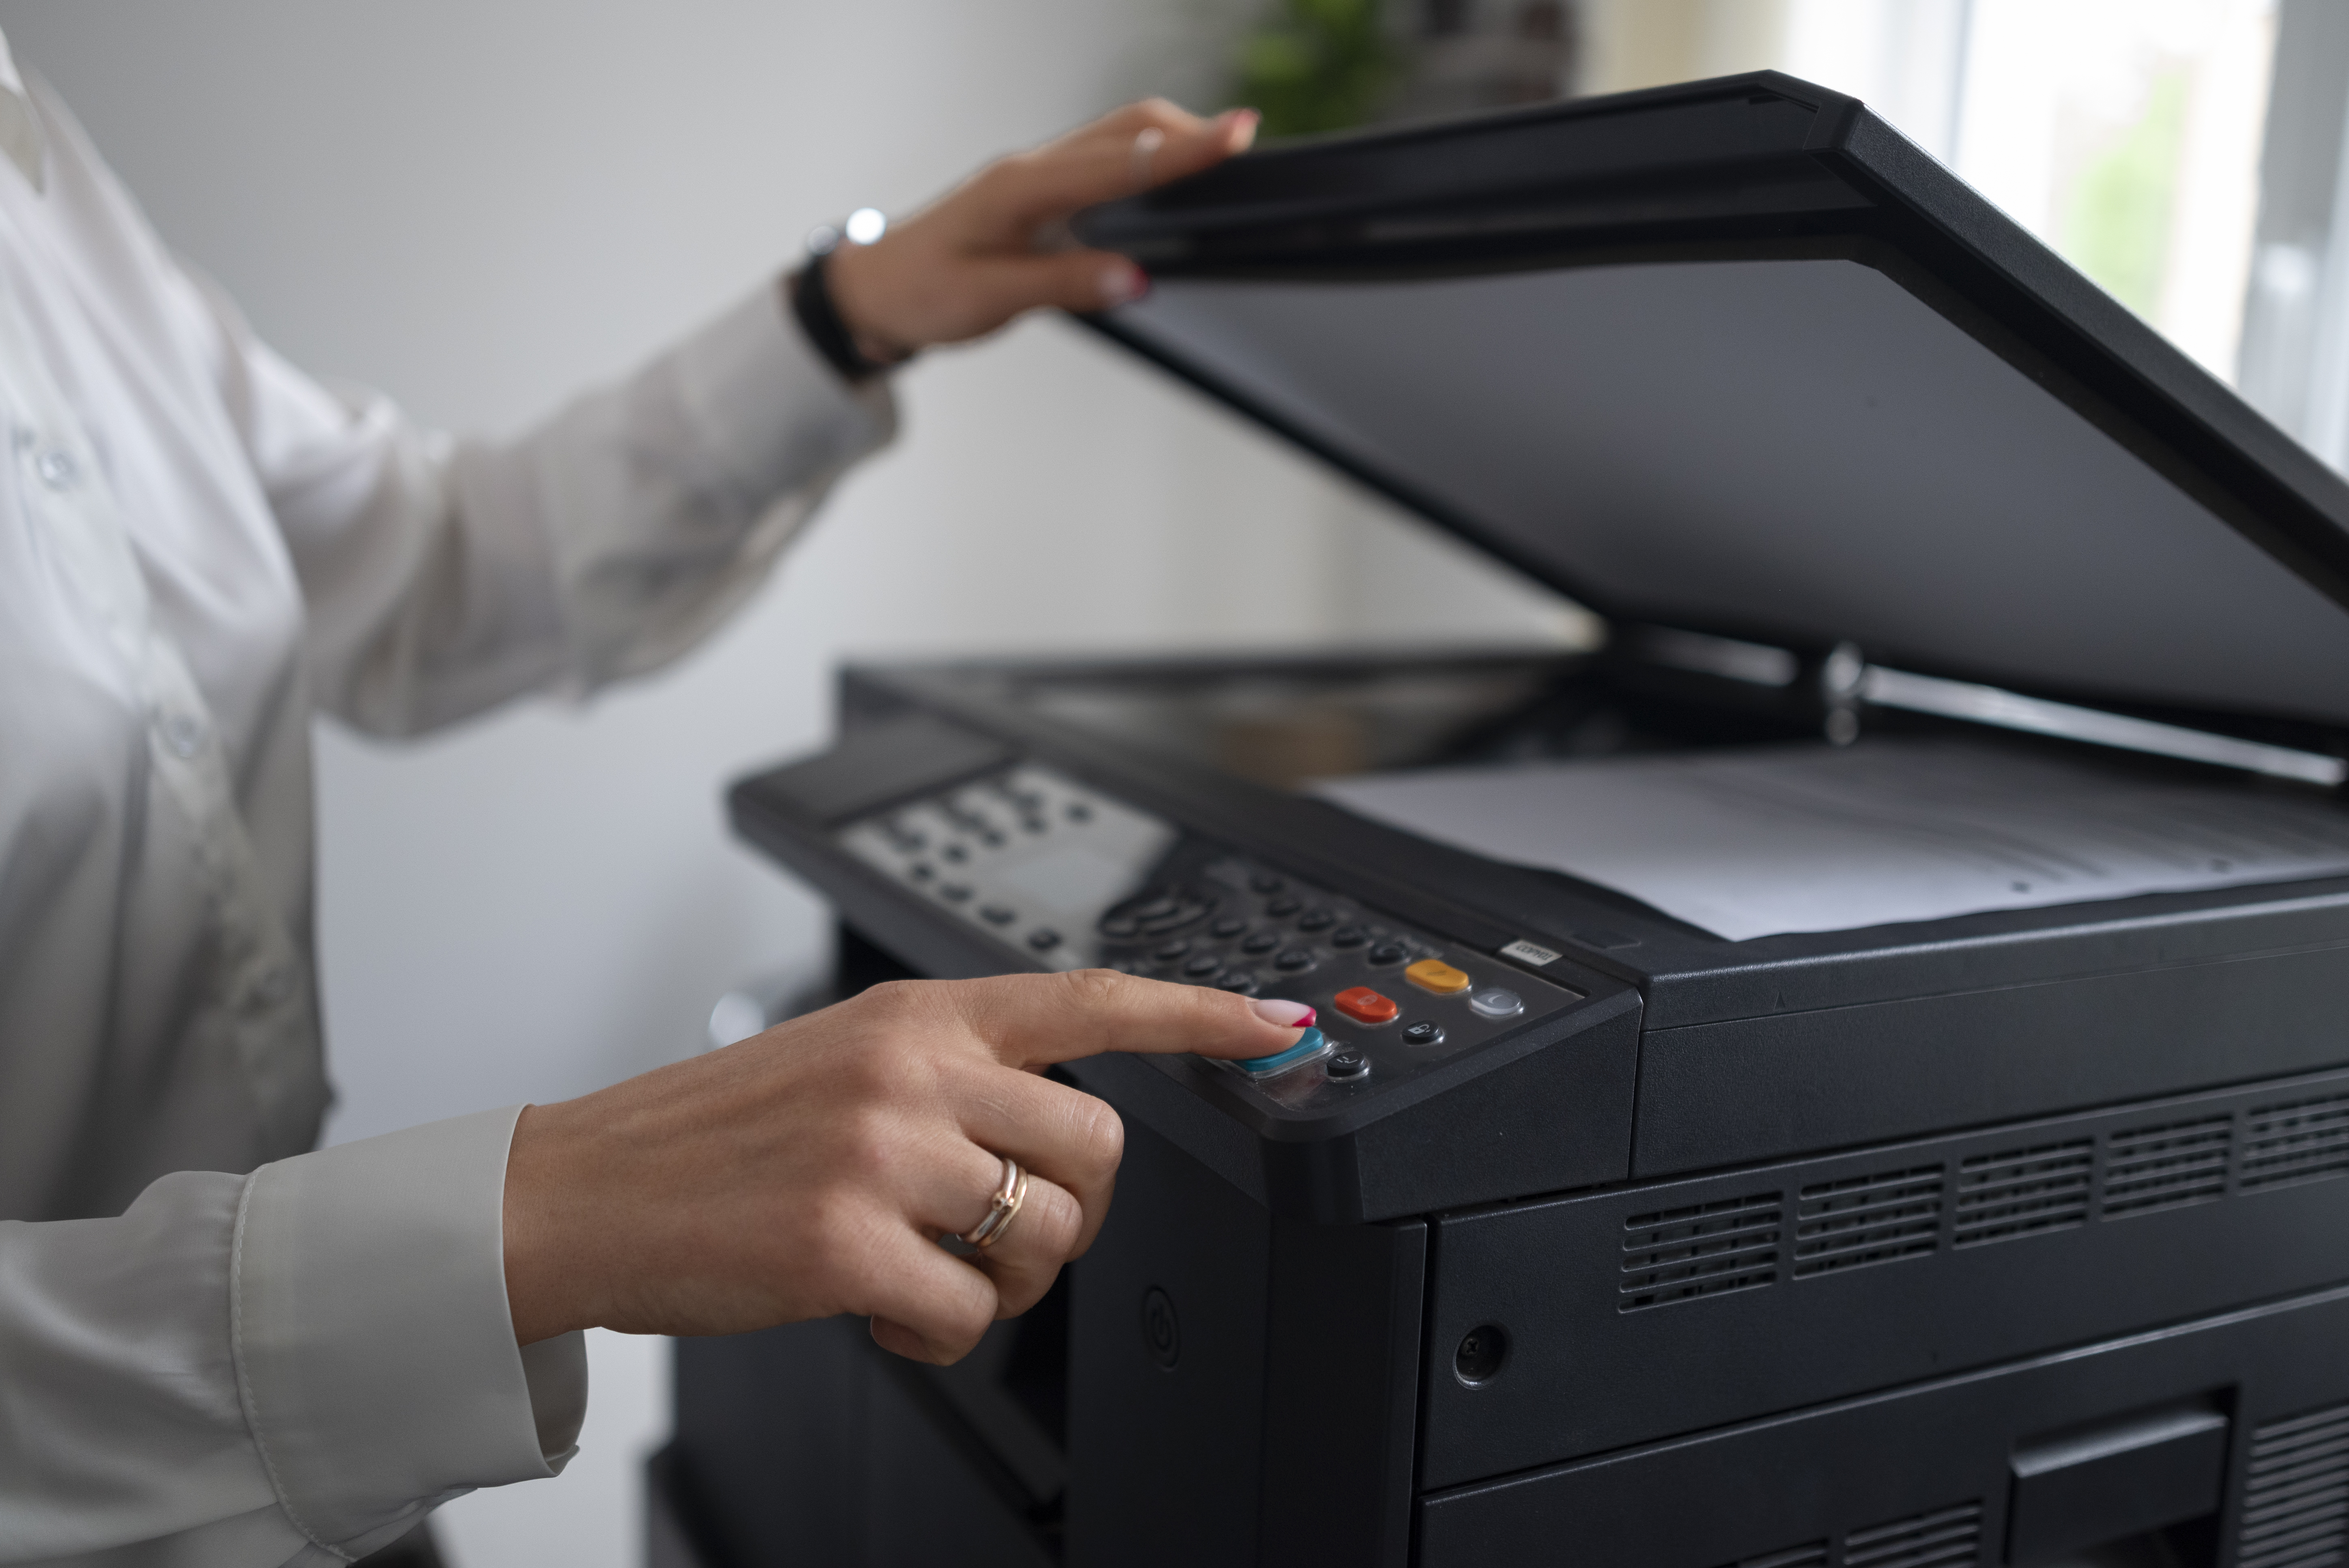
The wireless connection is a critical part of efficiency and simplicity in today's digital world. Now that you have purchased a brand new Brother printer recently, you are most likely eager to unpack it, do away with the mess of a pile of cables, and begin printing. Go through this guide on how you can easily connect your Brother Printer to Wi-Fi and print conveniently from your computer or even mobile device.
Understanding Brother Printers
Brother printers are great in terms of print quality and reliability. No matter whether you are working with a Brother laser printer to be used professionally at work or an all-in-one model for your home, these devices are built with flexibility for different printing necessities. But to get them operating smoothly, you will need to learn how to connect your Brother printer to your Wi-Fi.
Why Connect Your Brother Printer to Wi-Fi?
- Advantage Convenience: With wireless printing, you can place your printer anywhere in the house or office without being anchored to a computer.
- Multi-Device Accessibility: Wi-Fi connectivity means that you can connect your device/s in total with laptops, tablets, smartphones, among many more altogether at a go.
- Easy Setup: Sometimes, most brother printers have interfaces that make the whole setup very easy to carry through.
Pre-Setup Considerations
There is or so thing to consider before you commence connection for proper setting end
- Network Information: have your Wi-Fi network name or SSID and the password written on hand.
- Printer Location: Ensure your Brother printer is within range of your Wi-Fi router.
- Device Compatibility: check out if your computer or mobile is compatible with Brother printers.
How to Connect Your Brother Printer to Wi-Fi
Step 1: Prepare Your Printer
- Power On: Power on your Brother printer and get it ready.
- Access Control Panel: Go to the printer's control panel, typically located at the device's front.
Step 2: Step for Wi-Fi Setup Wizard
- Menu Navigation: You can navigate the arrow keys using the control panel towards the "Network" option.
- Select WLAN: Select "WLAN," then select "Setup Wizard"
- Start Wizard: The printer will scan the available networks. It will then offer you a list of Wi-Fi networks.
Step 3: Connect to Your Wi-Fi Network
- Select Network: Tap on your Wi-Fi network from the list that is displayed.
- Enter Password: Enter your Wi-Fi password.Use the control panel to enter the password accurately.
- Confirm Connection: The printer will connect to the network after the person has entered the password.
Step 4: Confirm Connection
- Connection Status: It will inform you of the status in a few minutes whether the connection is successful or not.
- Print Test Page: For your peace of mind, print test page to know that your printer is performing well.
Step 5: Install Brother Printer Drivers
If you are to maximize your use of your Brother printer, then the proper installation of drivers on your computer is what you need. Here is how:
- Visit Brother's Website: From your browser launch and navigate to the official Brother website and then to the support section.
- Select Your Printer Model: You just need to input your printer model to find the correct drivers.
- Download and Install: Download and install the Brother printer drivers according to the instruction given.
Step 6: Add Printer to Your Computer
Windows Users:
- Open "Devices and Printers" in the Control Panel.
- In the "Devices and Printers" window, click "Add a printer" then follow the instruction on how to add your Brother printer
Mac Users:
- Open "System Preferences" and click "Printers & Scanners."
- Click the " + " to add your printer and then simply follow the on-screen instructions.
Troubleshooting Common Problems
Even with the best instructions, things will go wrong sometimes. Here are some common problems and solutions:
Printer Not Available: If your printer does not show up in the list of devices:
- Make sure the printer is turned on and connected to Wi-Fi.
- Restart the printer and the router.
Wrong Password: You are unable to connect to your printer because of an incorrect password:
- Check that no typing errors happened with the password entered.
- Wi-Fi passwords are case-sensitive, so check that too.
Driver Issues: Issues after drivers have been installed happen:
- Check you downloaded the right driver for your model.
- Brother Printers Support site for updates as well as further details.
Brother Printers Support
If you encounter issues that you can't resolve on your own, don't hesitate to seek help. ALL PRINTER SETUP offers support, resources, and customer service to assist you with any setup or operational problems related to your Brother printer or Brother Laser Printers.
- Online Resources: Brother's official website is a treasure trove of resources such as FAQs and troubleshooting guides. Moreover, brother has online community forums to address whatever issue you face.
- Customer Support: You can contact Brother's customer service by phone or chat for assistance with your specific issue.
Conclusion
Connecting a Brother printer to Wi-Fi is quite simple because it makes the process more convenient and flexible for you while printing. This way, you'll be able to set up your printer in no time with these steps outlined in this guide. Finally, update your Brother printer drivers and resort to the Brother printers support resources if you need guidance.
Once your Brother printer establishes a successful connection on your network, you can take advantage of printing from any room in the house or office. Be it prints for work or even photos for personal projects, the Brother printer is made to bring quality results, so you will get everything you need for printing conveniently without problems.
For more in-depth support or specific questions you have about your Brother printer model, you can connect with us through our website.
Book Your Appointment Now at https://allprintersetup.com/contact
Was this article helpful?
.png)
.png)
_1728455153.png)