.png)
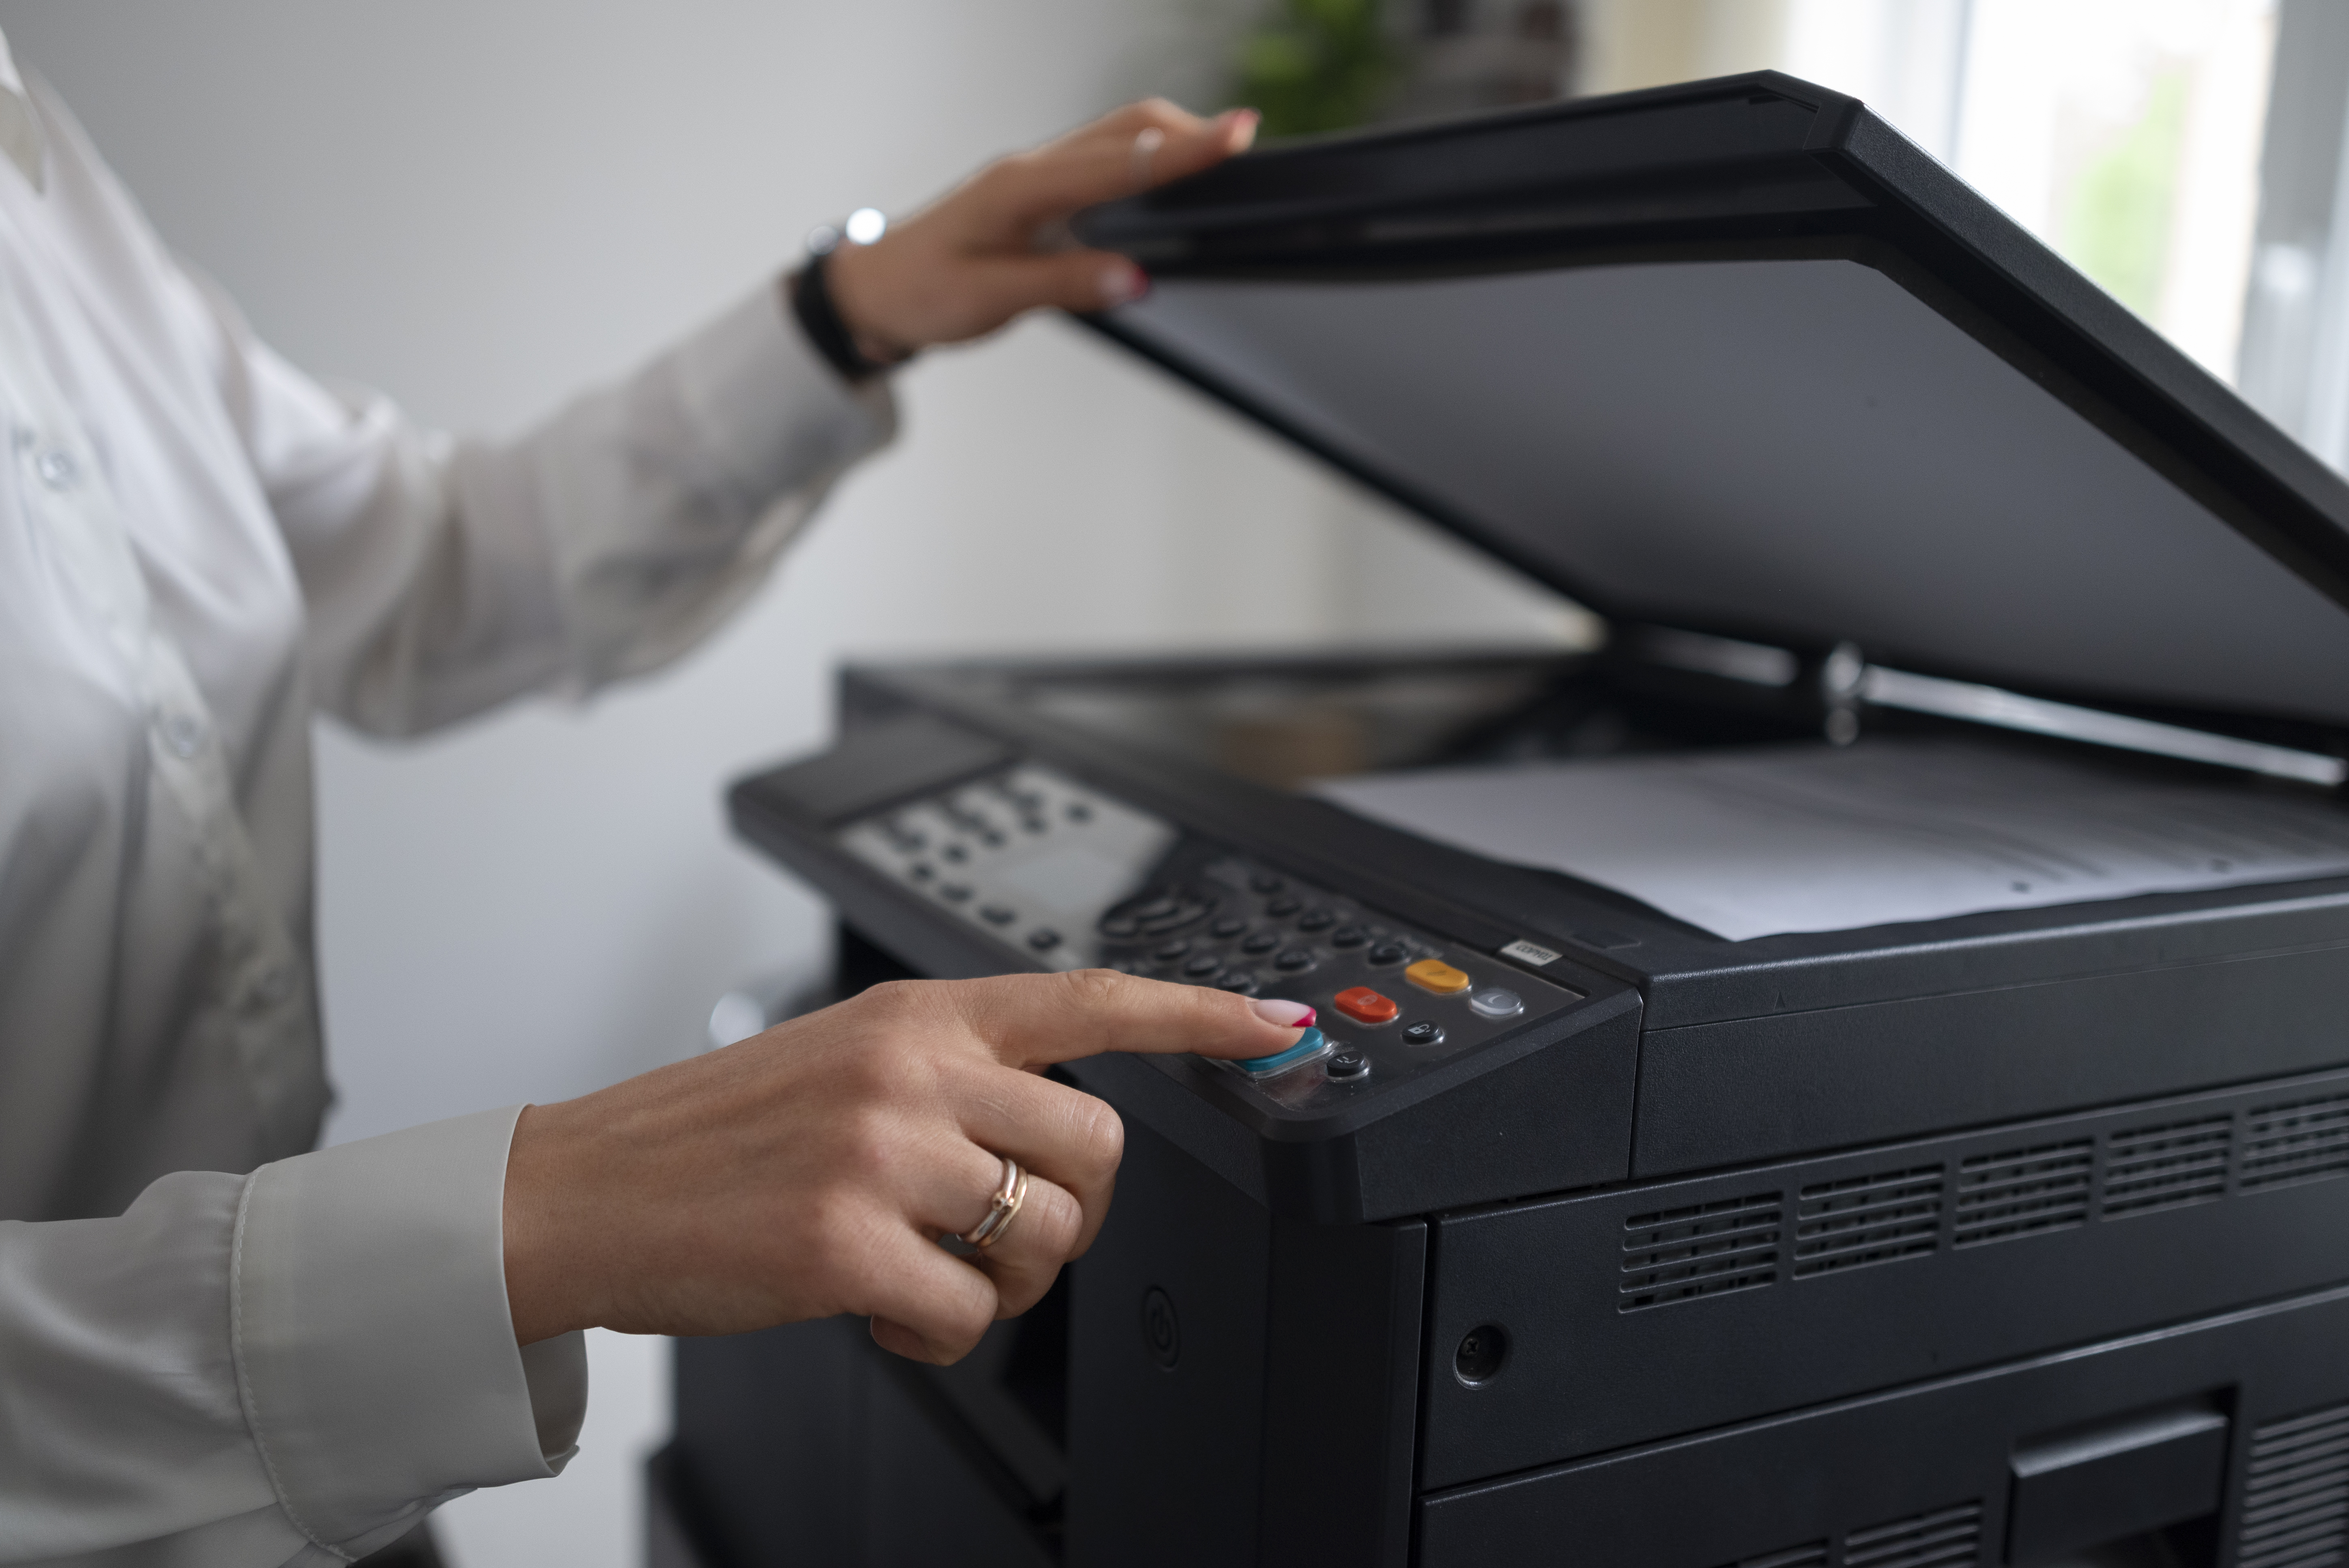
Canon printers are among the most popular printing devices worldwide due to their reliability, quality, and advanced features. Whether you have purchased a new Canon printer or are reinstalling an existing one, understanding the proper installation process ensures smooth operation. This guide will provide step-by-step instructions on installing Canon printers, covering different connection types and troubleshooting tips.
Step 1: Unboxing and Preparing Your Canon Printer
Before beginning the installation process, ensure you have all the necessary components.
What’s in the Box?
- Canon printer
- Power cord
- USB cable (if applicable)
- Ink cartridges
- Setup the CD or driver download link
- User manual
Preparation Steps:
- Remove the packaging: Unbox the printer and remove any protective tapes or packaging materials.
- Check ink cartridges: Ensure the provided ink cartridges are available and ready for installation.
- Choose a stable surface: Place the printer flat near a power source and computer (if using a wired connection).
Step 2: Connecting the Canon Printer
Option 1: Wireless Connection (Wi-Fi)
Wirelessly setting up a Canon printer allows you to print from multiple devices without cables.
How to Install a Canon Printer Wirelessly:
- Please turn on your printer and ensure it is within range of your Wi-Fi router.
- Press the Wi-Fi button on the printer until the indicator light blinks.
- Go to your computer or smartphone and access the Wi-Fi settings.
- Find and select your printer’s network name (SSID) from the available networks.
- Enter the Wi-Fi password when prompted.
- Confirm the connection by checking if the Wi-Fi light on your printer remains steady.
Alternatively, some Canon printers support WPS (Wi-Fi Protected Setup), allowing you to press the WPS button on your router for easy connection.
Option 2: USB Connection
For a direct connection, follow these steps:
- Turn off the printer before connecting the USB cable.
- Plug one end of the USB cable into the printer and the other into your computer.
- Please turn on the printer, and your computer should automatically detect it.
- If prompted, install the printer drivers (explained in the next step).
Option 3: Ethernet Connection (For Network Printers)
- Connect one end of an Ethernet cable to the printer and the other to the router.
- Please turn on the printer and ensure it is recognized on the network.
- Follow the driver installation process to complete the setup.
Step 3: Installing Canon Printer Drivers and Software
Once your printer is physically connected, you must install the necessary software to function correctly.
Method 1: Using the Setup CD
- Insert the Canon setup CD into your computer’s CD/DVD drive.
- Run the installation program and follow the on-screen instructions.
- Choose your connection type (Wi-Fi, USB, or Ethernet).
- Install the required drivers and complete the setup.
Method 2: Downloading from the Canon Website
- Visit the Canon official website (https://allprintersetup.com/).
- Search for your printer model in the support section.
- Download the latest printer driver and software.
- Run the installation file and follow the setup wizard instructions.
- Select your connection type and complete the installation.
Step 4: Adding Canon Printer to Windows & Mac
Once the drivers are installed, you must add the printer to your operating system.
For Windows Users:
- Open Control Panel > Devices and Printers.
- Click Add a Printer and let Windows detect your printer.
- Select your Canon printer model and click Next.
- Follow the prompts to complete the setup.
For Mac Users:
- Open System Preferences > Printers & Scanners.
- Click the + button to add a new printer.
- Select your Canon printer from the list and click Add.
- Ensure the correct drivers are installed and complete the process.
Step 5: Testing Your Canon Printer
Once the installation is complete, test your printer to confirm it works correctly.
How to Print a Test Page:
- Open a document or image.
- Click File > Print.
- Select your Canon printer and click Print.
- If the test print is successful, your setup is complete.
Troubleshooting Common Canon Printer Installation Issues
Even with a smooth setup, you may encounter some issues. Here are common problems and solutions:
1. Printer Not Detected
- Ensure the printer is powered on.
- Check USB or Wi-Fi connections.
- Restart your computer and try again.
- Update or reinstall drivers from the Canon website.
2. Wi-Fi Connection Issues
- Ensure the printer is within the Wi-Fi range.
- Restart the router and printer.
- Reset the Wi-Fi settings on the printer and reconnect.
3. Print Jobs Stuck in Queue
- Open Control Panel > Devices and Printers.
- Right-click your printer and select See what’s printing.
- Cancel all print jobs and restart the printer.
4. Poor Print Quality
- Check if the ink cartridges are correctly installed.
- Run a print head cleaning from the printer settings.
- Use high-quality paper and the recommended ink.
Conclusion
Installing a Canon printer is straightforward when you follow the proper steps. Proper driver installation is key to smooth operation, whether you are using a wireless, USB, or Ethernet connection. If you encounter any issues, troubleshooting methods like checking connections and updating drivers can help. Following this guide, you can successfully set up your Canon printer and enjoy high-quality, hassle-free printing!
Was this article helpful?
.png)
.png)
_1728455153.png)