.png)
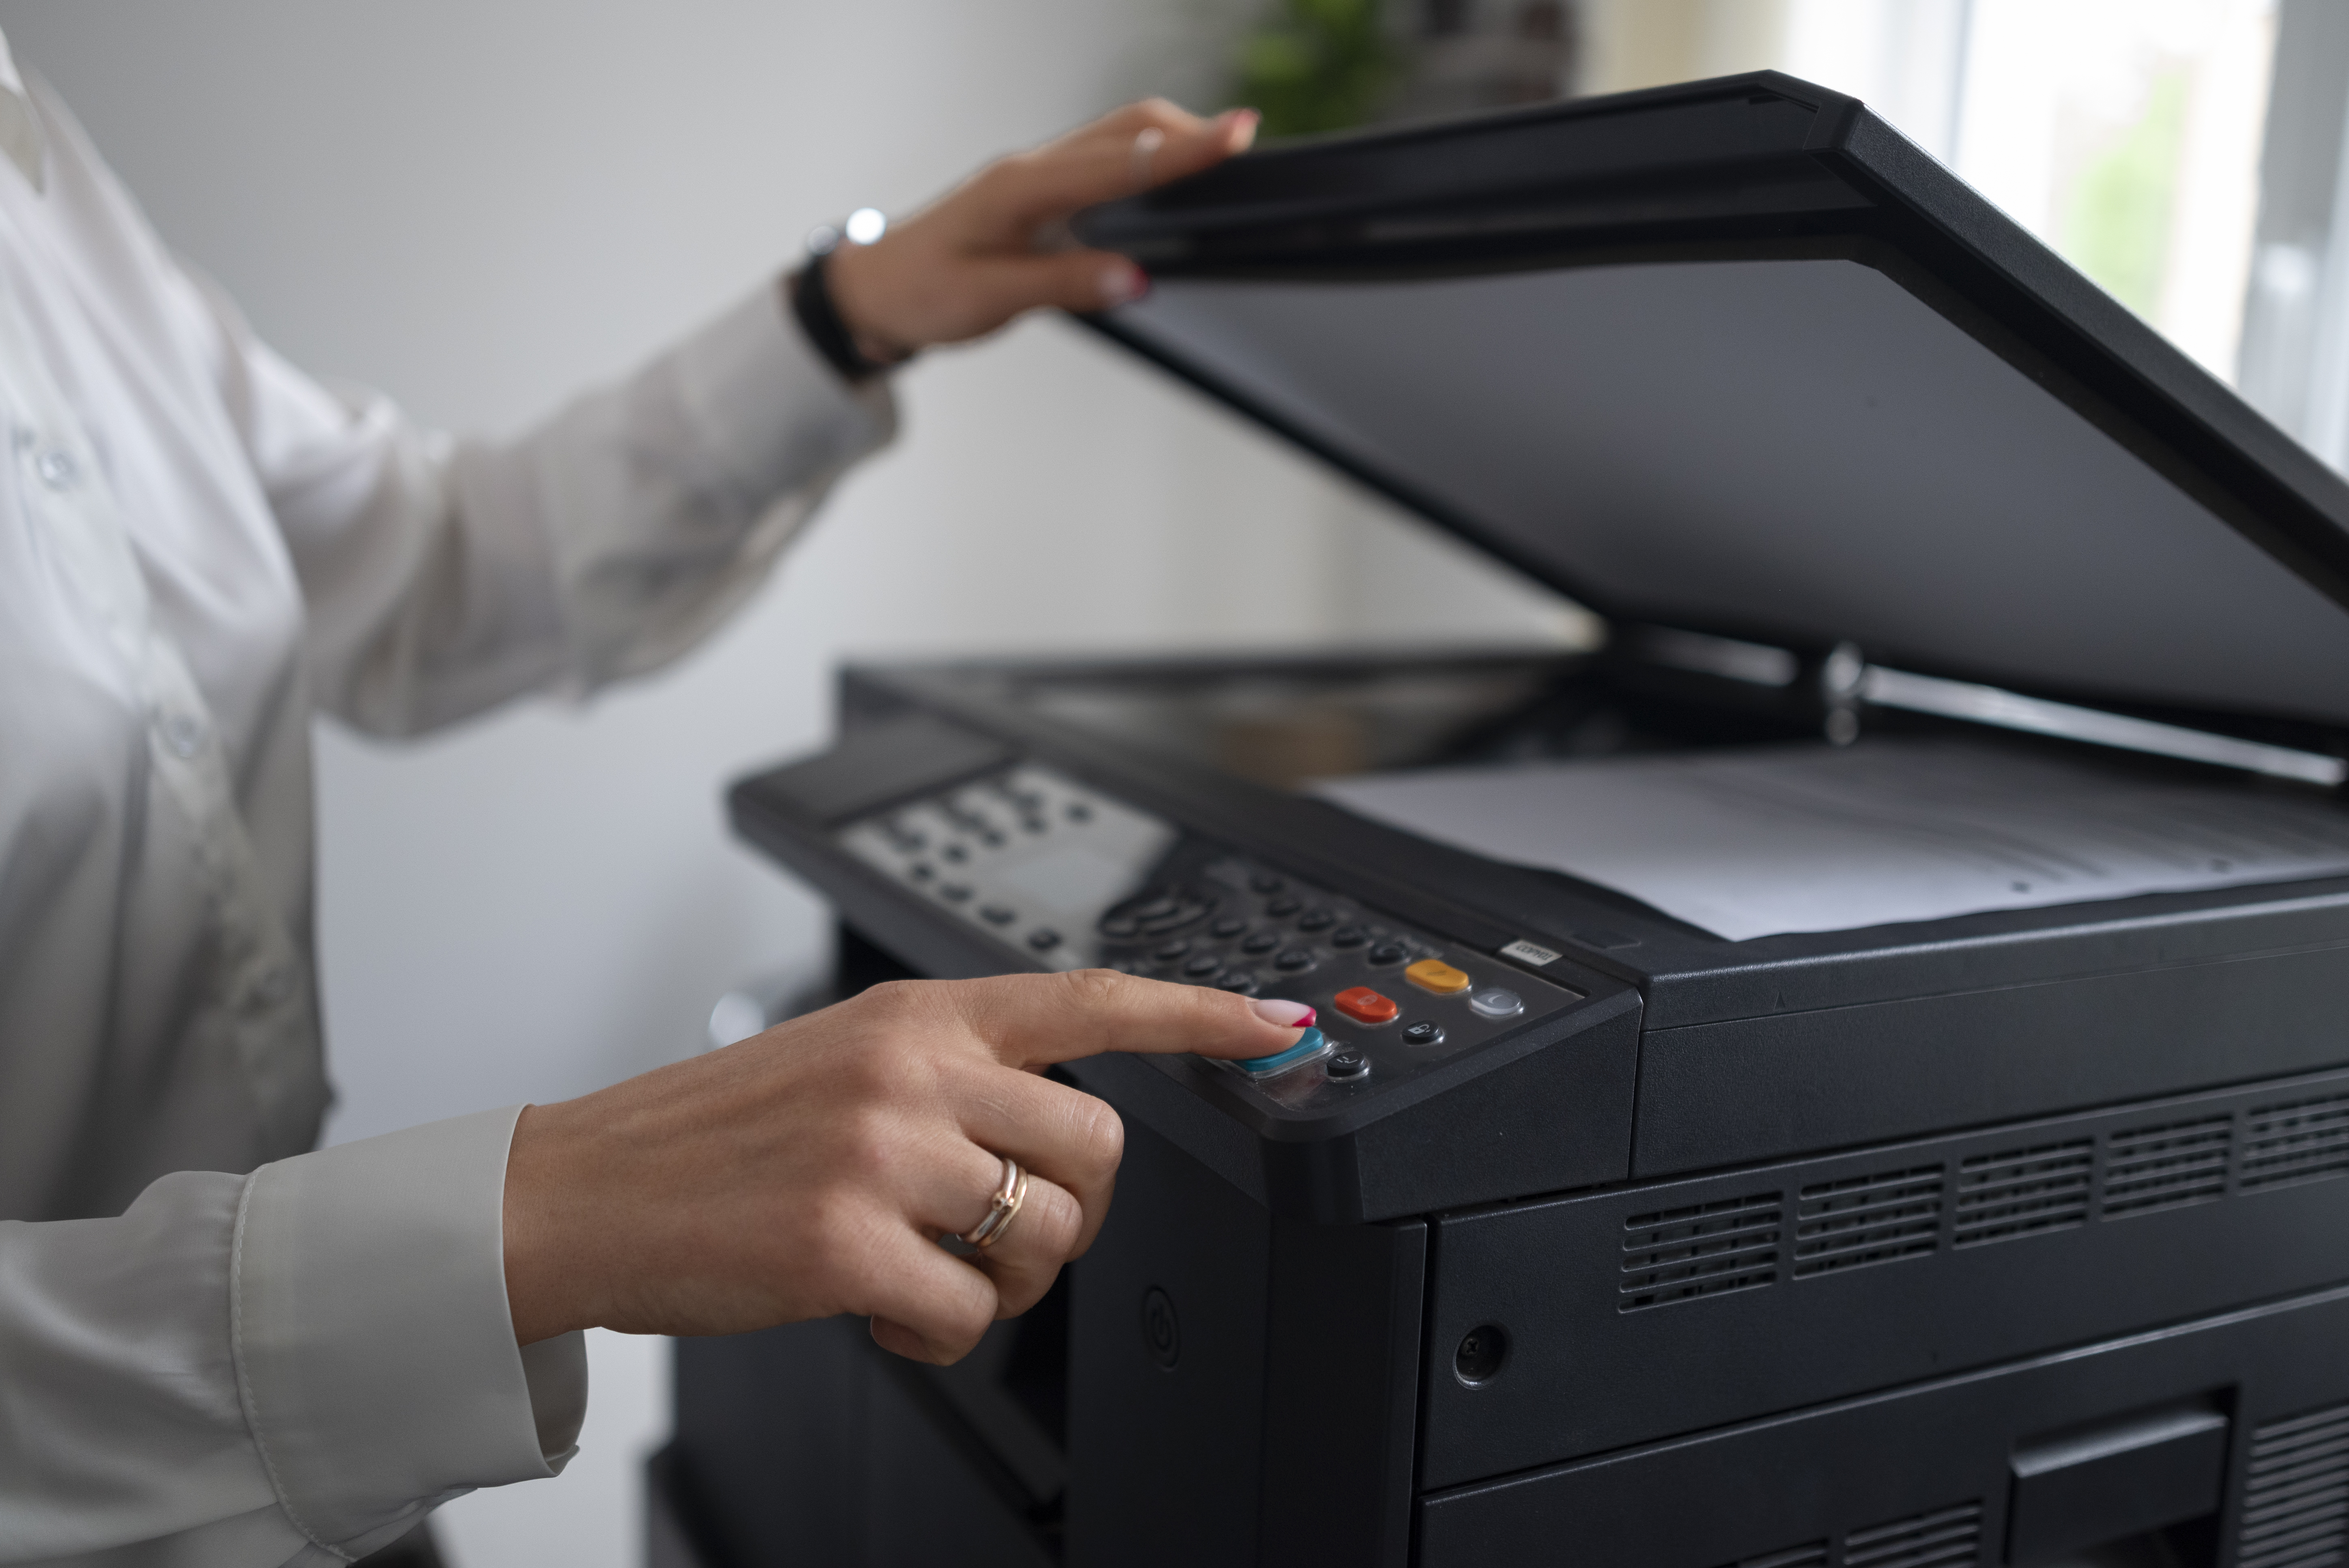
Canon printers are known for their reliability and print quality. However, like all technology, they're not immune to issues. One of the most frustrating problems Canon users encounter is the "Print Head Error." This usually halts printing completely and may lead you to think that your only option is to replace the print head — an expensive solution.
But before you go shopping for a new part or Printer, there's good news: you can often fix a Canon print head error without replacing it. In this guide, we'll walk you through what causes this error, the symptoms to watch out for, and step-by-step methods to resolve it yourself.
What Is a Canon Print Head Error?
The print head is a critical component in inkjet printers — it's responsible for transferring ink onto the paper. When you see a Print Head Error message (such as "U052 - The type of print head is incorrect" or "U051 - Print head is not installed"), your Canon Printer is telling you it can't communicate with or recognize the print head.
This could be due to:
- Improper print head installation
- Ink buildup or clogs
- Electronic connection issues
- Firmware glitches
- Print head misalignment
Fortunately, many of these problems are fixable with a bit of patience.
Signs You're Dealing With a Print Head Error
Here are some common symptoms:
- The Printer displays an error code like U051, U052, or B200
- Poor print quality or missing colors
- The Printer won't print at all
- Frequent paper jams or Printer stopping mid-job
If you're facing any of these, try the solutions below before replacing the print head.
Solution 1: Perform a Soft Reset
Sometimes, the simplest fixes are the most effective.
Steps:
- Turn off your Printer.
- Unplug the power cord from the wall.
- Wait at least 5 minutes.
- Plug it back in and turn the Printer on.
If the error disappears, it is likely a firmware hiccup. If not, proceed to the following method.
Solution 2: Reinstall the Print Head
If your Canon Printer has a removable print head (standard in models like Pixma MG, MX, or iP series), reseating it can re-establish a clean connection.
Steps:
- Turn off the Printer and open the cover to access the ink cartridges.
- Remove all ink cartridges.
- Carefully lift and remove the print head (consult your Printer's manual for exact instructions).
- Gently wipe the electrical contacts on the print head and inside the Printer with a lint-free cloth or a cotton swab lightly moistened with isopropyl alcohol.
- Let everything dry completely (about 10–15 minutes).
- Reinstall the print head and ink cartridges.
- Close the cover and turn the Printer back on.
This often resolves communication errors between the Printer and the print head.
Solution 3: Deep Clean the Print Head
If the error persists or you're experiencing poor print quality, the print head might be clogged.
Option 1: Use Printer's Built-in Cleaning Utility
- On your Printer's control panel or through the software on your computer, go to:
- Maintenance > Deep Cleaning (or Head Cleaning).
- Follow the prompts. This process can take a few minutes.
- Print a test page to see if the issue is resolved.
Repeat the cleaning up to two or three times if necessary, but avoid overdoing it to prevent ink waste.
Option 2: Manual Cleaning with Warm Water
If automated cleaning fails, try a manual method:
What You'll Need:
- A shallow bowl
- Warm (not boiling) distilled water
- Lint-free paper towels or microfiber cloth
- Gloves (optional)
Steps:
- Remove the print head as described earlier.
- Fill a shallow dish with warm distilled water.
- Gently submerge the nozzles (bottom part of the print head) in the water.
- Let it soak for 10–20 minutes to dissolve dried ink.
- Remove it and gently shake it to dislodge debris.
- Place it on a paper towel to air dry for at least 1 hour.
- Reinstall the print head and cartridges, then run a cleaning cycle.
This process can clear stubborn clogs and revive a "dead" print head.
Solution 4: Check and Clean Electrical Contacts
The communication between the print head and Printer relies on tiny copper contacts. Dirt or ink on these can cause errors.
Steps:
- Power off and unplug your Printer.
- Open the access area and remove the print head.
- Using a soft cloth or swab moistened with isopropyl alcohol, gently clean:
- The copper/gold contacts on the print head
- The corresponding contacts inside the carriage
- Let everything dry thoroughly before reinstalling.
Avoid using water or rough cloths, which may damage delicate components.
Solution 5: Update or Reset Firmware
Outdated firmware can sometimes cause false print head errors.
To update:
- Visit Canon's official website.
- Enter your Printer model.
- Download and install the latest firmware.
Alternatively, perform a factory reset (refer to your user manual for the steps). Be aware that this may remove Wi-Fi settings and saved configurations.
When to Consider Replacement
If you've tried all the steps above and still face errors, your print head may be physically damaged. Unfortunately, not all Canon models allow for print head replacement as a standalone part — in some cases, it's more economical to buy a new Printer.
However, if your Printer is still under warranty, contact Canon Support to inquire about a replacement or repair.
Preventing Future Print Head Errors
Here are some tips to keep your Canon print head in top shape:
- Print regularly to prevent ink from drying and clogging nozzles.
- Use genuine Canon ink when possible. Third-party cartridges can be unreliable.
- Keep the Printer in a clean, dust-free environment.
- Turn the Printer off properly using the power button — not just unplugging it.
- Store unused printers properly, avoiding direct sunlight or extreme temperatures.
Final Thoughts
Canon print head errors can be frustrating, but in many cases, they don't require an expensive replacement. By following the steps above — from resetting and cleaning to firmware updates — you have a high chance of fixing the issue yourself.
If you're ever in doubt or your Printer is under warranty, don't hesitate to reach out to Canon or a professional technician. But with a little effort, you can bring your Canon Printer back to life — no new parts needed.
Need help with your Canon Printer setup or troubleshooting? Visit our complete Canon Printer Support Guide for step-by-step articles, downloads, and expert tips.
Was this article helpful?
.png)
.png)
_1728455153.png)
