.png)
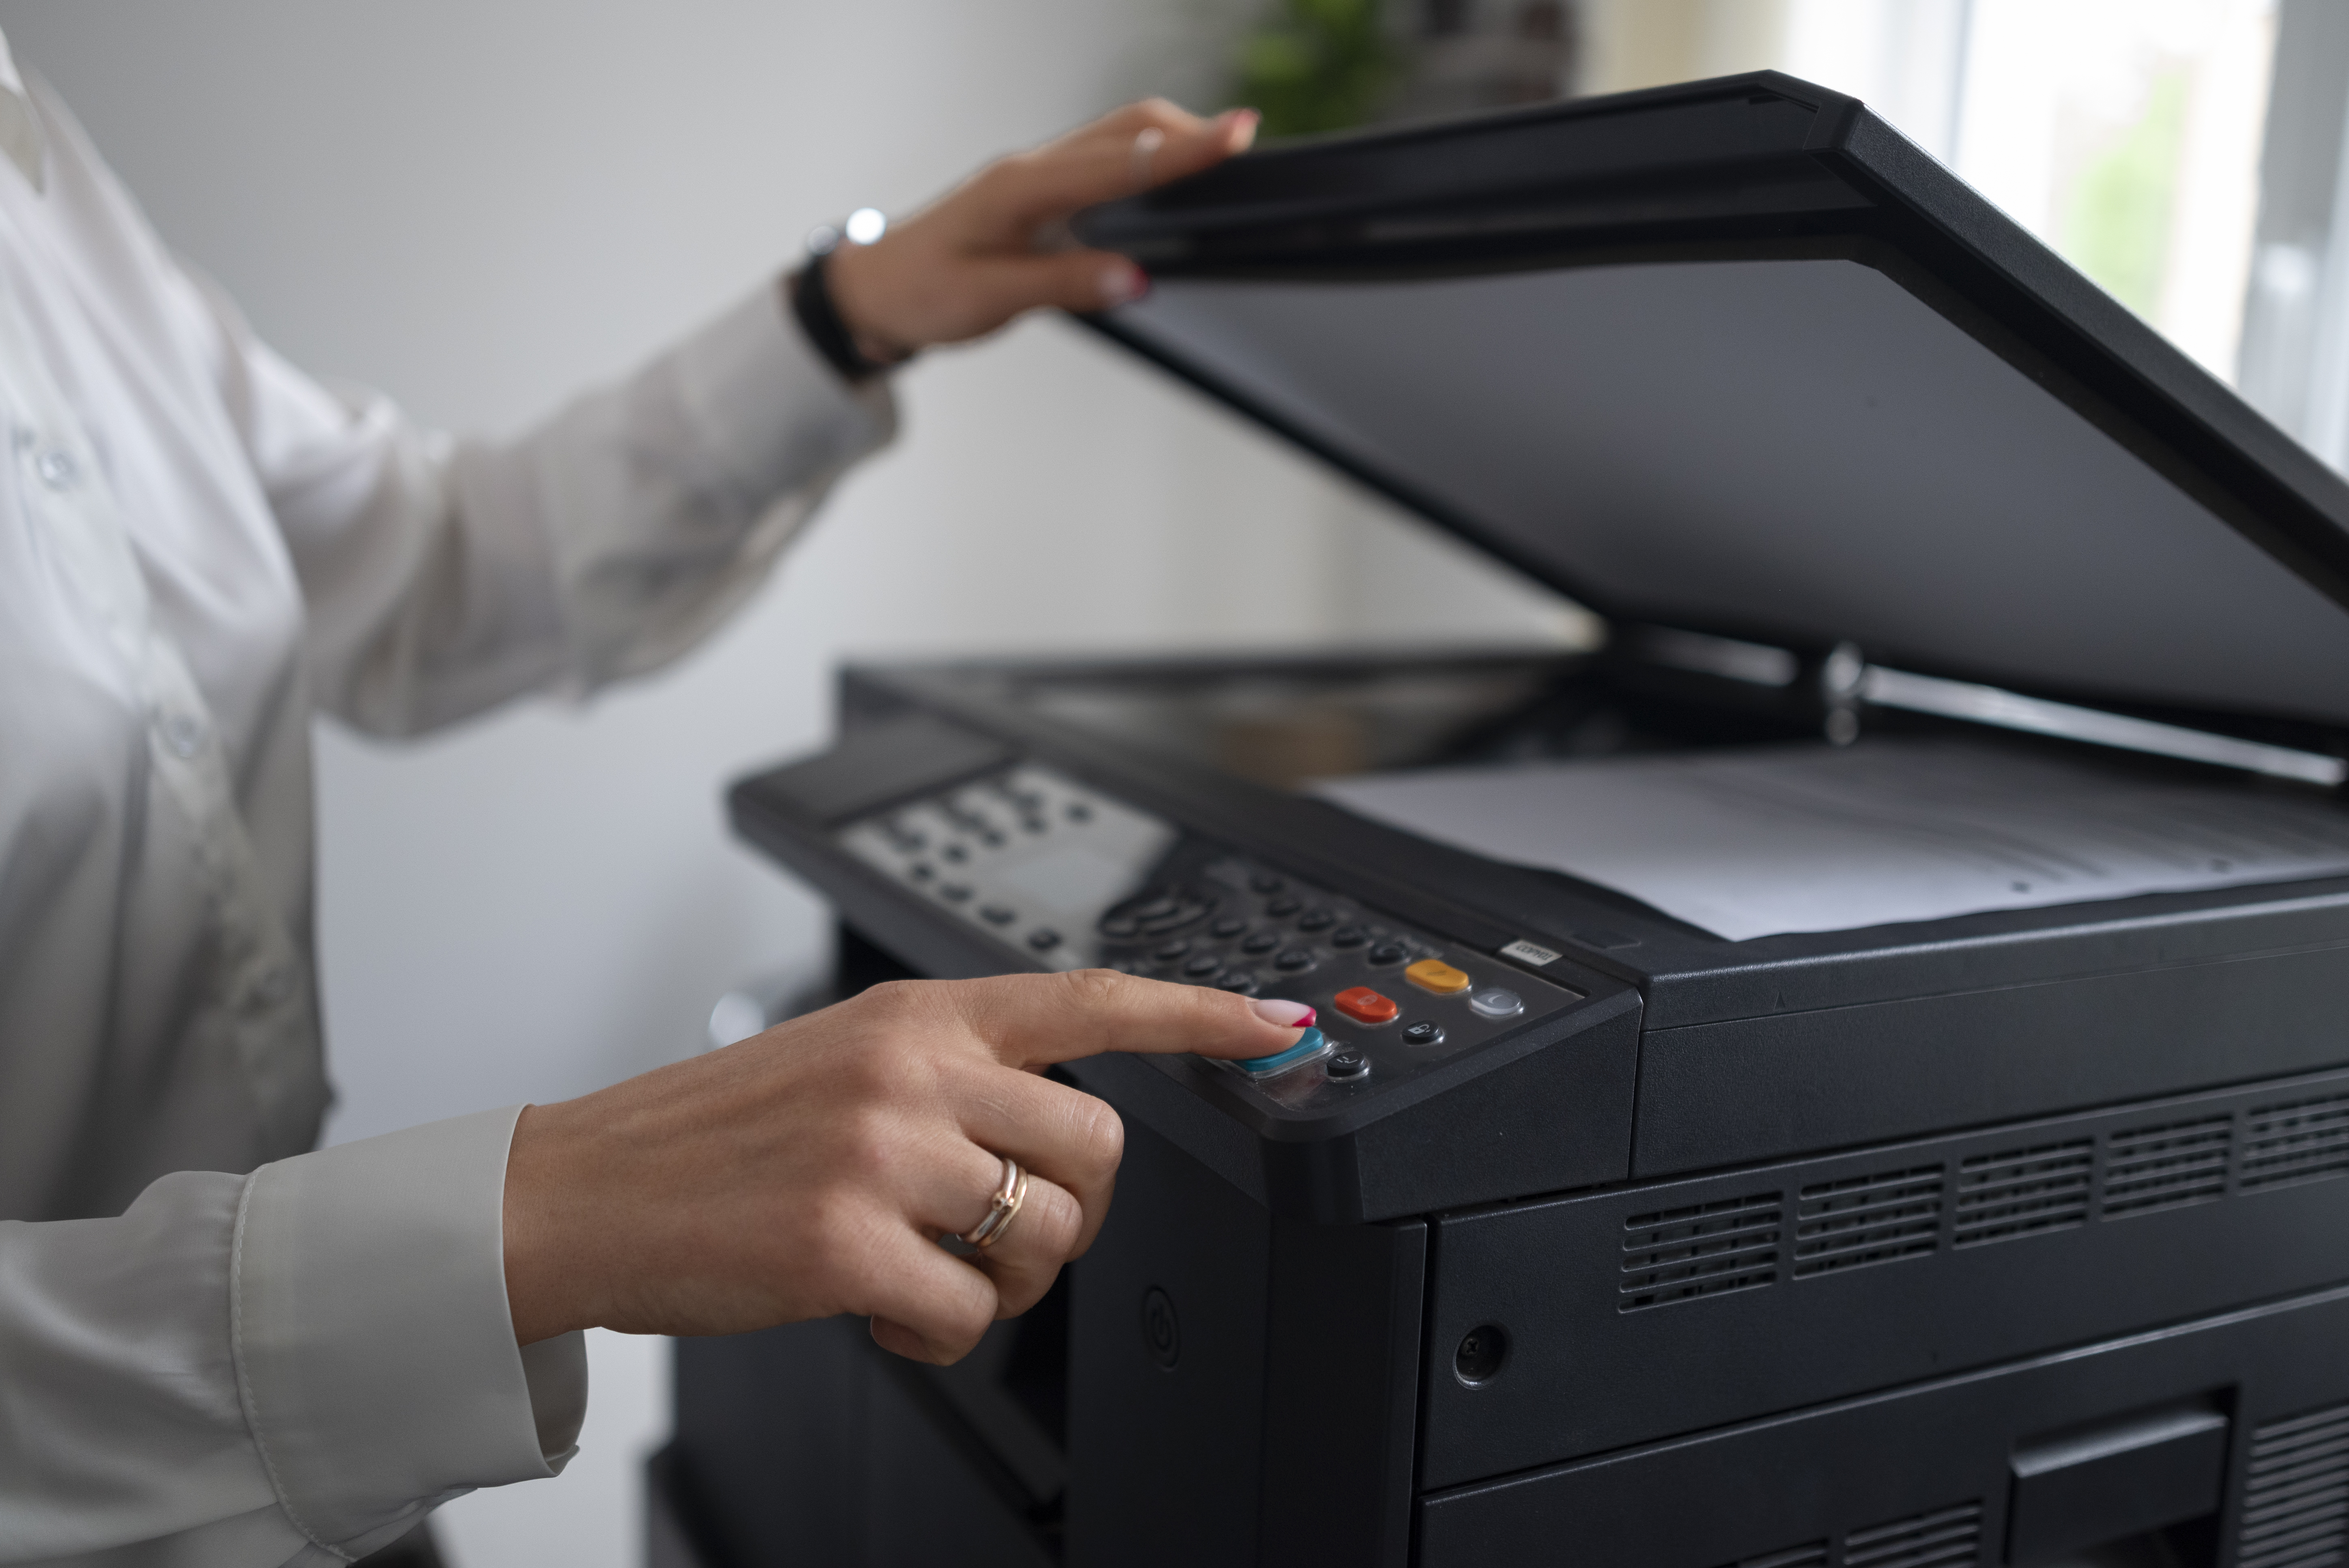
Printing has never been easier, thanks to wireless technology. Modern HP printers allow you to print directly from your laptop without the hassle of cables or complex setups. Whether you’re working from home, in an office, or in a classroom, learning how to connect your laptop to an HP printer wirelessly helps you save time and stay productive.
In this detailed guide, we’ll walk you through simple step-by-step methods to connect your HP printer to Wi-Fi, so you can start printing effortlessly.
Why Connect Your HP Printer Wirelessly?
Wireless printers have become the new standard for home and business users alike. Here’s why:
- Cable-free convenience: No tangled cords or limited movement.
- Multi-device access: You can print from laptops, tablets, or smartphones.
- Remote printing: Send print jobs even when you’re not physically near the printer.
- Easy sharing: Multiple users can access the same printer on a single network.
If you own an HP DeskJet, OfficeJet, LaserJet, or Envy printer, the wireless setup is simple — and you can do it within minutes.
Step-by-Step: How to Connect a Laptop to an HP Printer Wirelessly
There are several ways to set up a wireless connection between your HP printer and laptop. Let’s go through each method in easy-to-follow steps.
Method 1: Connect Using HP Smart App (Recommended)
The HP Smart App is the easiest and most efficient way to connect your HP printer wirelessly to a laptop running Windows or macOS.
Step 1: Download the HP Smart App
- Go to the HP Smart official page or open Microsoft Store (Windows) or App Store (macOS).
- Search for HP Smart and install it.
Step 2: Turn On Your HP Printer
- Make sure your HP printer is powered on and ready.
- Check if the Wi-Fi light on the printer is blinking — this indicates the printer is in setup mode.
- If it’s not blinking, press and hold the Wireless and Cancel buttons for about 5 seconds to reset the wireless settings.
Step 3: Connect the Laptop to Wi-Fi
- Ensure your laptop is connected to the same Wi-Fi network you want your printer to use.
Step 4: Open the HP Smart App
- Launch the app and click “Set up a new printer.”
- HP Smart will automatically search for nearby printers.
Step 5: Complete the Setup
- When your printer appears on the list, select it.
- Enter your Wi-Fi password if prompted.
- The app will complete the connection and show a confirmation message.
You can now print, scan, or check ink levels directly from the HP Smart App.
Method 2: Connect via WPS (Wi-Fi Protected Setup)
If your Wi-Fi router supports WPS, you can easily connect your HP printer to your wireless network without needing a password.
Step 1: Locate the WPS Button
Most modern routers have a WPS button (usually labeled or marked with two circular arrows).
Step 2: Enable WPS Mode on Printer
- On your HP printer, press and hold the Wireless button for 3–5 seconds until the blue light starts blinking.
Step 3: Press the WPS Button on the Router
- Within 2 minutes, press the WPS button on your Wi-Fi router.
- The blinking wireless light on the printer will turn solid when the connection is successful.
Step 4: Add Printer to Laptop
- On your Windows laptop, go to Settings → Bluetooth & Devices → Printers & Scanners → Add a Printer or Scanner.
- Your printer should appear on the list — click Add Device.
Once done, your laptop and HP printer are connected wirelessly.
Method 3: Connect via HP Wireless Setup Wizard (Printers with Display Screen)
If your HP printer has a touchscreen control panel (like HP Envy, LaserJet Pro, or OfficeJet models), you can use the built-in Wireless Setup Wizard.
Step 1: Access the Wireless Menu
- On your HP printer’s control panel, tap the Wireless or Network Settings icon.
Step 2: Choose “Wireless Setup Wizard”
- The printer will search for available Wi-Fi networks.
Step 3: Select Your Wi-Fi Network
- Choose your network from the list and enter the Wi-Fi password using the on-screen keyboard.
Step 4: Confirm Connection
- The printer will display a confirmation message once connected.
Step 5: Add Printer to Laptop
- On your laptop, open Settings → Devices → Printers & Scanners.
- Click Add a Printer or Scanner, select your HP printer, and click Add Device.
Your printer is now connected wirelessly to your laptop.
Method 4: Connect Using USB for Initial Setup (Optional)
If you face difficulty connecting wirelessly, you can first set up the printer with a USB cable and then switch to Wi-Fi mode.
Step 1: Connect the Printer to the Laptop via USB
- Plug the USB cable into your HP printer and laptop.
Step 2: Install HP Smart App
- Download and install the HP Smart App if you haven’t already.
Step 3: Follow On-Screen Instructions
- The app will detect your printer and prompt you to connect to Wi-Fi.
- Once connected, you can remove the USB cable and use the printer wirelessly.
Common Issues When Connecting an HP Printer Wirelessly
Sometimes, your printer or laptop might not connect right away. Here are some common problems and how to fix them:
1. Printer Not Found During Setup
- Make sure your printer is in setup mode (Wi-Fi light blinking).
- Move your printer closer to the router.
- Restart both your laptop and printer.
2. Incorrect Wi-Fi Password
- Double-check your network password.
- Avoid using guest or public networks; connect to your main Wi-Fi.
3. Printer Keeps Disconnecting
- Update your HP printer drivers regularly.
- Place your printer near the router to prevent signal drops.
- Avoid interference from other wireless devices.
4. Slow Printing or Communication Errors
- Restart your router and printer.
- Check for HP firmware updates.
- Ensure your internet connection is stable.
How to Check Wireless Connection on HP Printer
To confirm that your printer is properly connected:
- On the printer’s control panel, tap Wireless → Print Reports → Wireless Network Test.
- The report should display “Connected” under network status.
You can also log in to your router to verify the printer’s IP address.
Tips for Smooth Wireless Printing
- Always keep your printer firmware up to date.
- Use a dual-band router (2.4GHz recommended for stability).
- Connect both the laptop and printer to the same Wi-Fi network.
- Reboot your printer every few days to clear the cache and improve performance.
- Use the HP Smart App to monitor ink levels, paper jams, and the print queue.
When to Contact HP Printer Support
If you’ve tried all these steps and your printer still won’t connect, it might be a deeper configuration or driver issue.
You can get expert help from HP Printer Support USA or reliable third-party specialists like All Printer Setup. Our experts offer:
- Remote troubleshooting for wireless setup issues.
- Driver updates and firmware configuration.
- Step-by-step guidance to connect any HP printer model wirelessly.
Whether it’s an HP Envy, DeskJet, or OfficeJet, we can help you get your printer running smoothly again.
Final Thoughts
Connecting your HP printer wirelessly to your laptop isn’t complicated — all it takes is the right steps and a stable network. By following this guide, you can easily print documents, assignments, and photos directly from your laptop without dealing with messy cables.
And if your setup doesn’t go as planned, AllPrinterSetup.com is always ready to help you with professional HP printer support, driver installation, and wireless troubleshooting — anytime, anywhere in the USA.
Was this article helpful?
.png)
.png)
_1728455153.png)