.jpg)
Setting up a new HP Printer is a daunting task, especially if you're doing it for the first time. However, the truth is that it's relatively straightforward once you know the steps. Whether you're using a laptop, desktop, or even your phone, this blog will walk you through the Configure an HP Printer, from unboxing to your first successful print. With just a bit of guidance, you’ll avoid common setup mistakes and get your printer working seamlessly across all your devices, right from the start.
Why Proper Setup Matters
Taking the time to set up your HP printer correctly ensures everything runs smoothly. It helps avoid common issues like printing errors, network glitches, or your printer not responding when you need it most. A good setup means less frustration and more reliable performance. It also ensures that your printer communicates effectively with all devices, minimize downtime, and reduces the chances of running into unexpected connectivity or compatibility problems.
Step 1: Unbox and Power On
Start by opening your Printer carefully. Remove all protective tape and packaging materials. Plug the Printer into a power outlet and press the power button to turn it on. Follow any on-screen instructions to install ink cartridges and load paper. This usually involves an automatic alignment process to prepare your Printer for use.
Step 2: Connect to WiFi
Wireless printing is a must these days. Most modern HP printers come with built-in WiFi, and connecting is simple. Go to the Printer's control panel and find the Wireless Setup Wizard. It will scan for available WiFi networks. Select your home WiFi and enter your password.
To make sure everything connects well:
- Keep the Printer close to your router.
- Use a 2.4 GHz WiFi network (most printers don't support 5 GHz).
- Double-check your WiFi password before entering it.
Once connected, your Printer will be accessible from any device on the same network.
Step 3: Install HP Drivers and Software
Your computer requires the correct driver to communicate with the Printer. This step ensures that your system can send print jobs, scan documents, and monitor ink levels.
To download them:
- Visit HP's official support site.
- Search for your Printer model.
- Download the full-feature driver package compatible with your operating system.
- Run the installer and follow the on-screen prompts.
This is where you'll also be prompted to link the Printer to your computer.
Step 4: Add the Printer to Your Device
Once drivers are installed, your computer should automatically detect the Printer.
On Windows:
- Go to Settings > Devices > Printers & Scanners
- Click Add a Printer or Scanner and choose your HP Printer from the list
On macOS:
- Open System Preferences > Printers & Scanners
- Click the plus (+) icon, select your Printer, and click Add
You're now ready to print!
Step 5: Connect Your Phone to the Printer
When it comes to printing from your phone, the HP Smart App is the best option. It simplifies the entire process.
Here's how to set it up:
- Download the HP Smart App from Google Play or Apple App Store
- Open the app and tap Add Printer
- Make sure your phone is connected to the same WiFi network
- The app will find and connect to your HP Printer
Once linked, you can Connect your Phone to an HP Printer, print photos, scan documents, and even manage settings—all from your mobile device.
Step 6: Print a Test Page
Before jumping into real printing tasks, it's a good idea to run a quick test. This confirms that everything is working as expected.
Printing a test page checks:
- Ink or toner quality
- Paper feed functionality
- Wireless connection strength
Most HP printers have an option in their menu to print a test page, or you can do it from your computer settings.
Troubleshooting: HP Printer Not Responding?
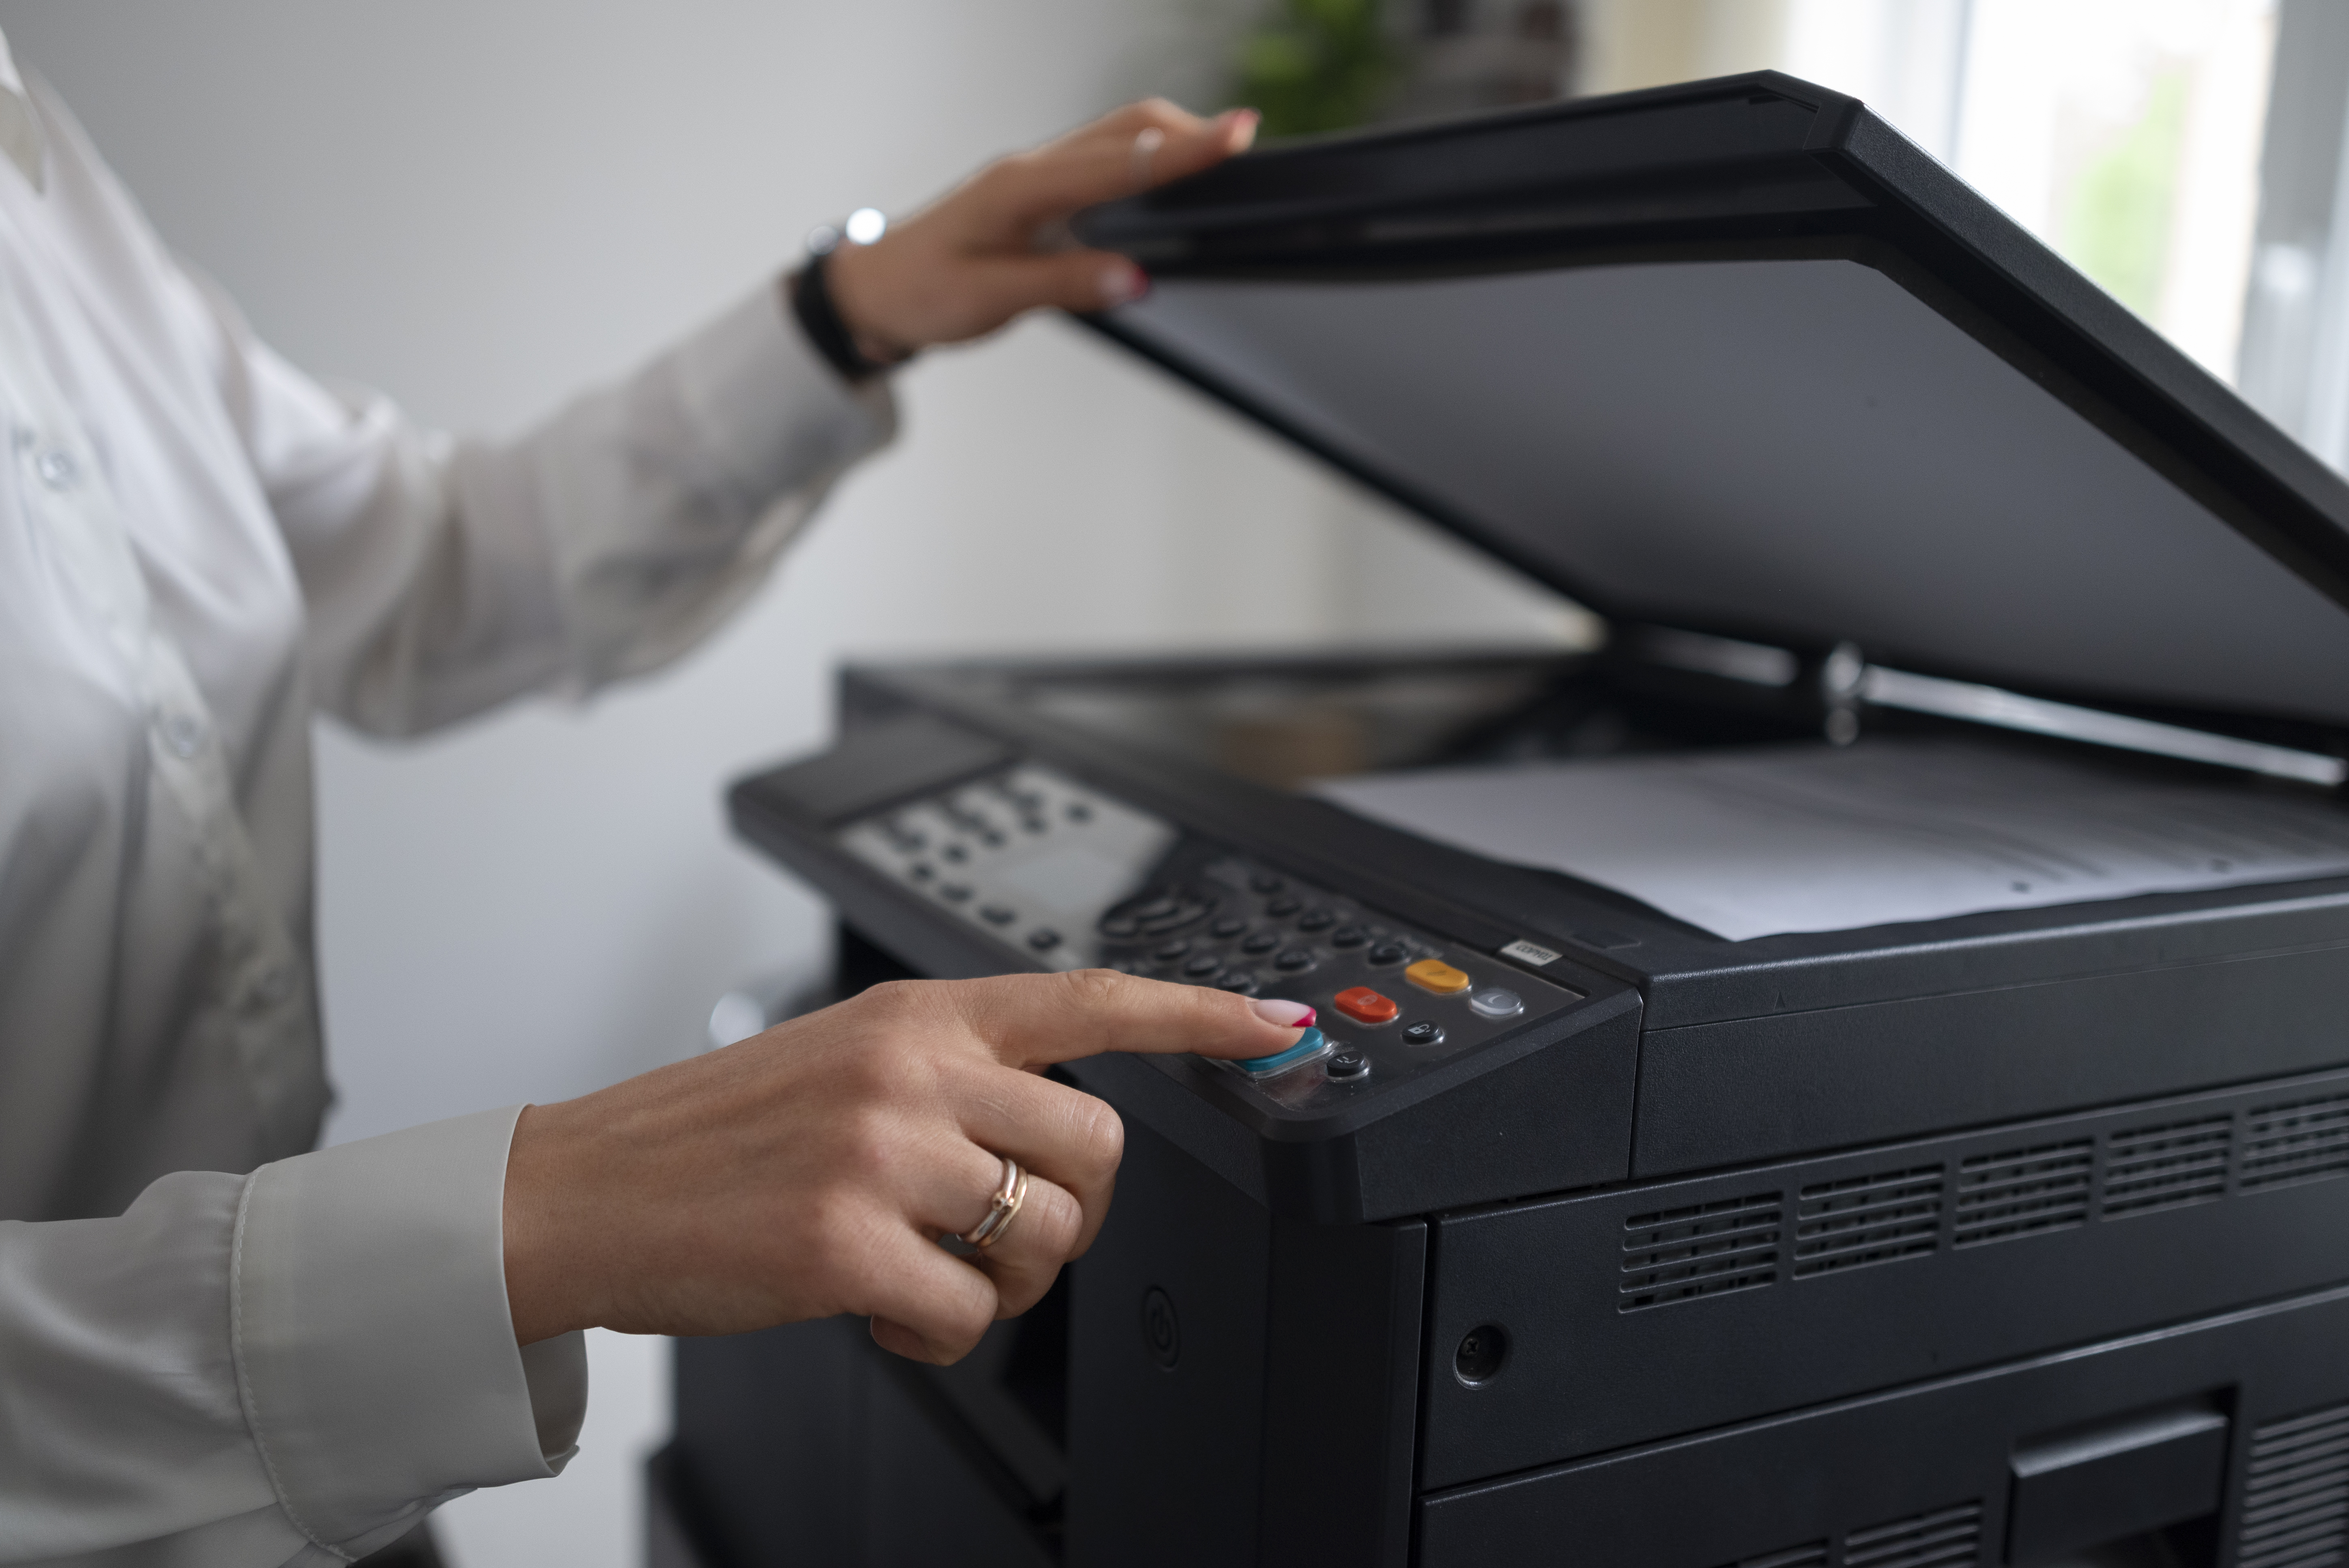
If your HP printer suddenly stops responding, don’t panic. It’s often something minor. When facing the issue of HP Printer Not Responding, there are a few quick fixes you can try to resolve it:
- Restarting both the Printer and your computer
- Checking if they're on the same WiFi network
- Opening the HP Smart App to view Printer status
- Temporarily turning off your firewall or antivirus if it's blocking communication
One of these quick steps can get things back on track.
Stay Updated with Firmware and Software
HP frequently releases updates to enhance performance, resolve bugs, and improve security. Keeping your Printer updated is essential for smooth, long-term use.
To update:
- Open the HP Smart App and check for updates
- Or go to the Printer's settings if it has a screen interface
These updates often happen automatically, but it doesn't hurt to check every few months.
Optional: Setup Scan-to-Email Features
Some HP printers support scan-to-email, which is a great feature for small business and home office users.
You can configure it using:
- The HP Smart App or your Printer's control panel
- Your email provider's SMTP server and port settings (you may need to look these up)
Once set up, you can scan documents and send them directly via email without using a computer.
Extra Tips for Reliable WiFi Printing
Setting up your Printer is one thing; keeping it running smoothly is another. If you ever need to set the HP Printer to WiFi again, these tips can help:
- Stick with the 2.4 GHz band for best compatibility
- Avoid physical obstructions between the Printer and the router
- Assign your Printer a static IP address to avoid reconnecting issues
These minor tweaks can make a significant difference in how well your wireless Printer performs on a day-to-day basis.
Final Words
Whether you're a student printing assignments or a professional managing reports, having a correctly set up HP Printer saves time and hassle. From downloading drivers to learning how to Connect a Phone to an HP Printer, every step in this guide is crafted to help you set things up with confidence.
Was this article helpful?


.png)
.png)
_1728455153.png)
